On April 8th, 2024, San Diego got to view a partial solar eclipse. I wanted to view the event, but I lacked special eclipse-viewing glasses, so I made a pinhole camera viewer.
To create a pinhole eclipse camera, you’ll need light-tight box with a small hole on one end of it. In our experiment, I’m using a 4×5 camera with a 0.75mm pinhole attached
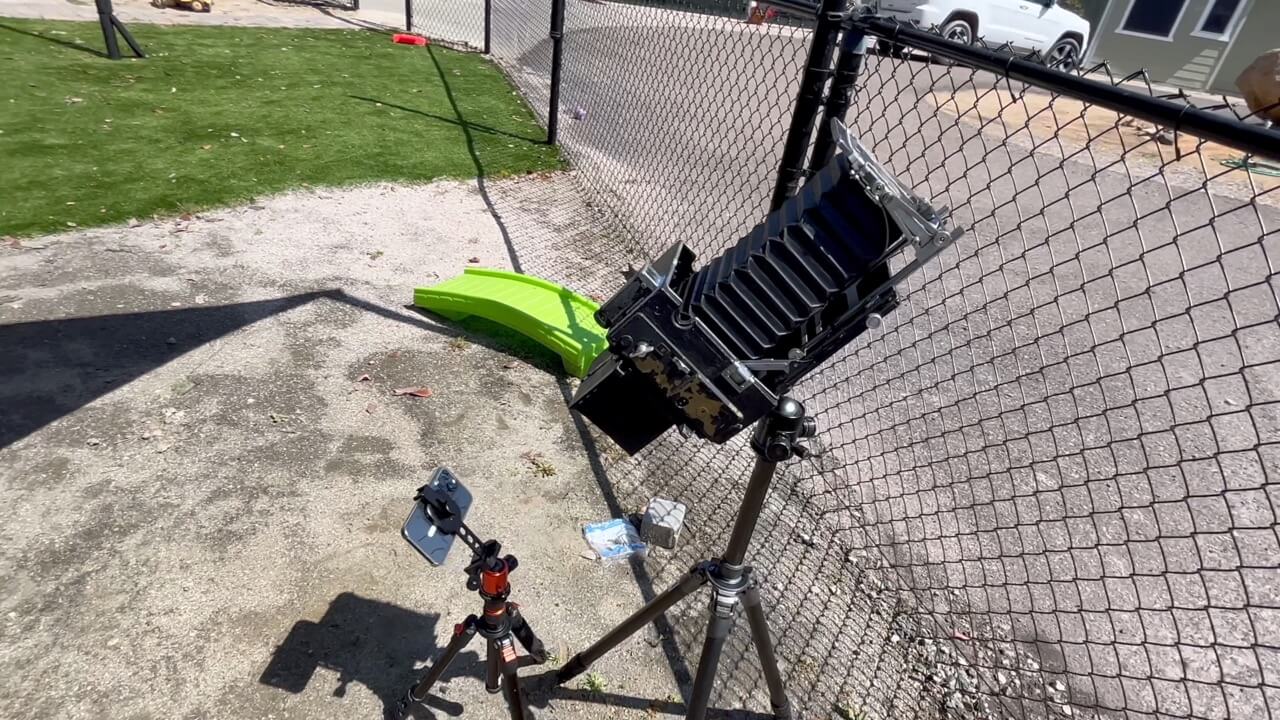
By pointing our pinhole camera directly at the sun, we’ll see on the back of the camera a a small, bright image dot, which is the the sun… and there will be a small, black notch cut into it, which is the moon.
—– Avoid looking at the sun during an eclipse; it can seriously damage your eyes. —— It might not seem like such a big deal, but you’d be basically burning a laser onto the back of your eyeball, if you viewed any solar eclipse with your bare eyes.
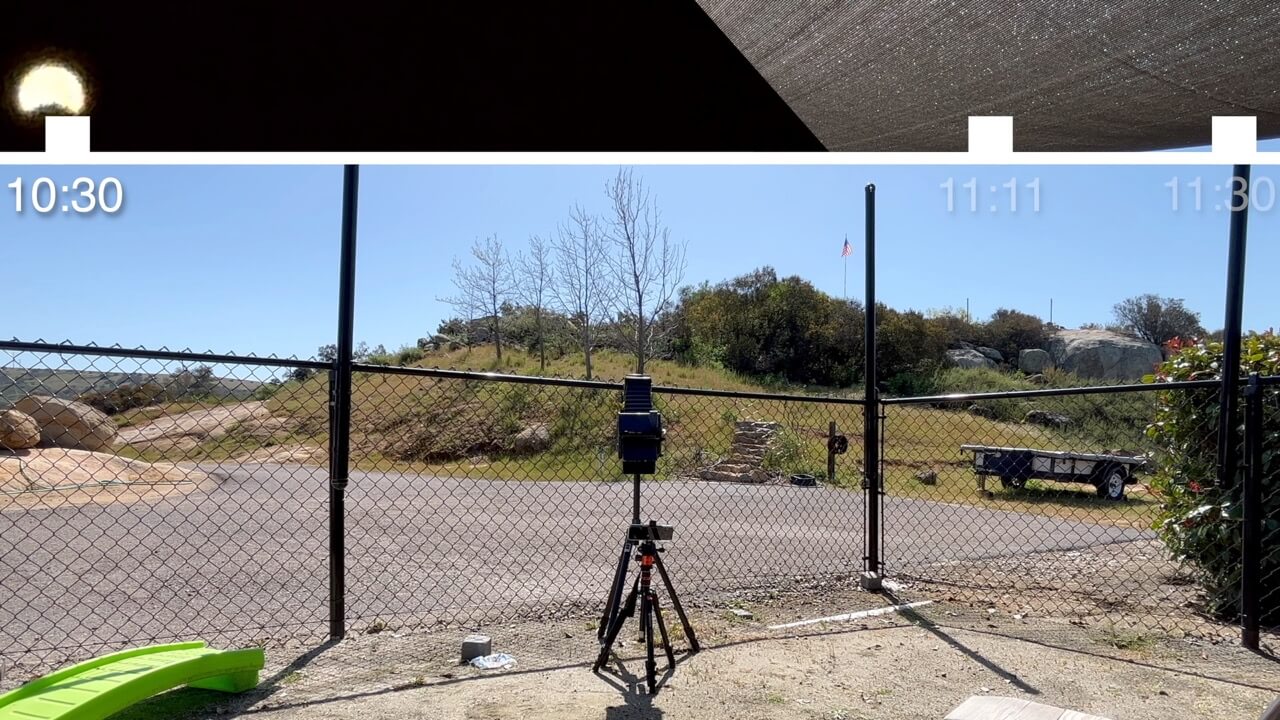
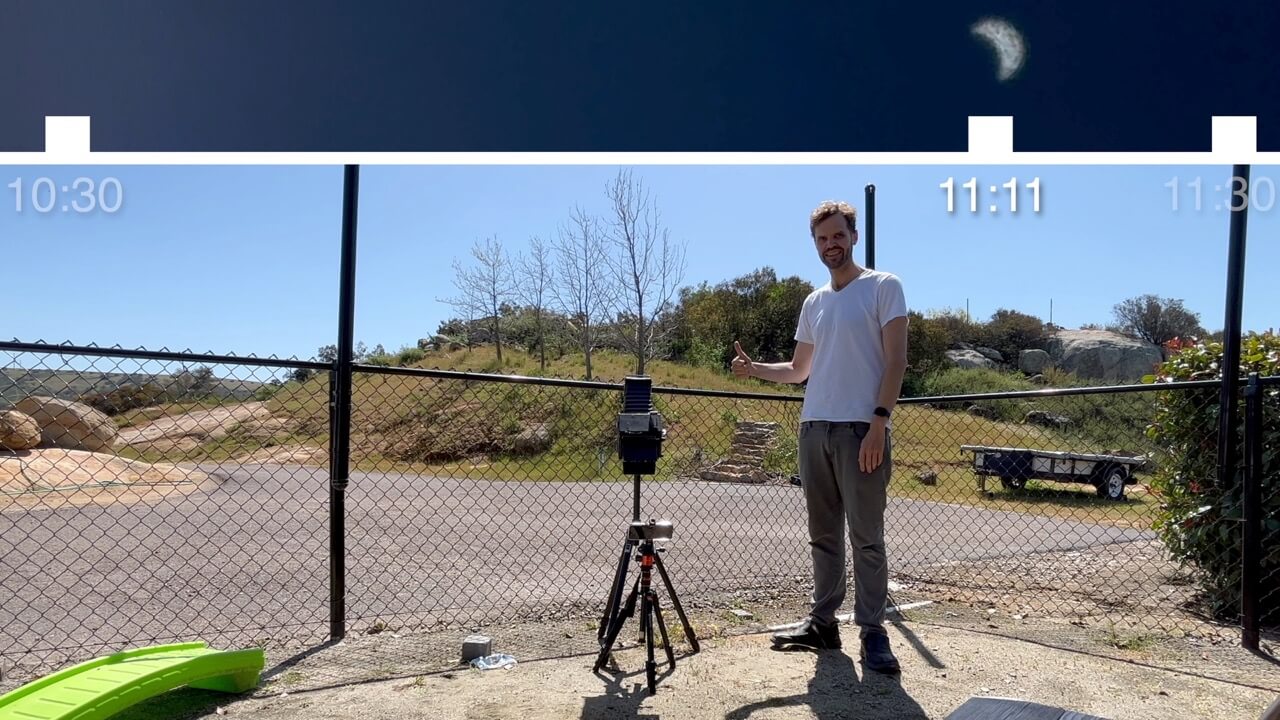
In San Diego, the April 8th eclipse started around 10:30 AM, and by 11:11, the eclipse “Totality” occurred, with about half of the sun covered by the moon. During the totality of partial eclipse, the air feels a bit cooler, and some crickets started to chirp, too.
If you want to view an eclipse but you lack a pinhole camera, here are two, simple DIY methods to safely view an eclipse.
One easy technique for an eclipse-viewer is to use your hands.
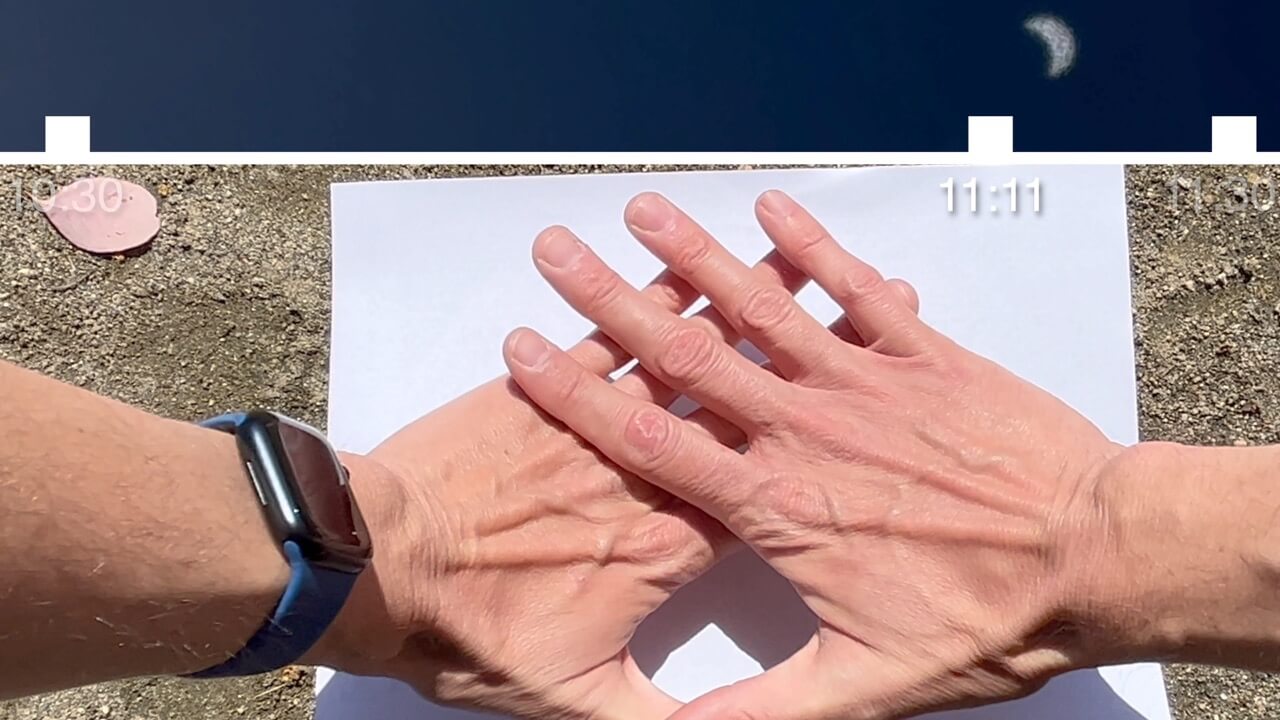
Overlap your hands to form small squares on the shadow beneath them. Slowly move your hands away from the ground.
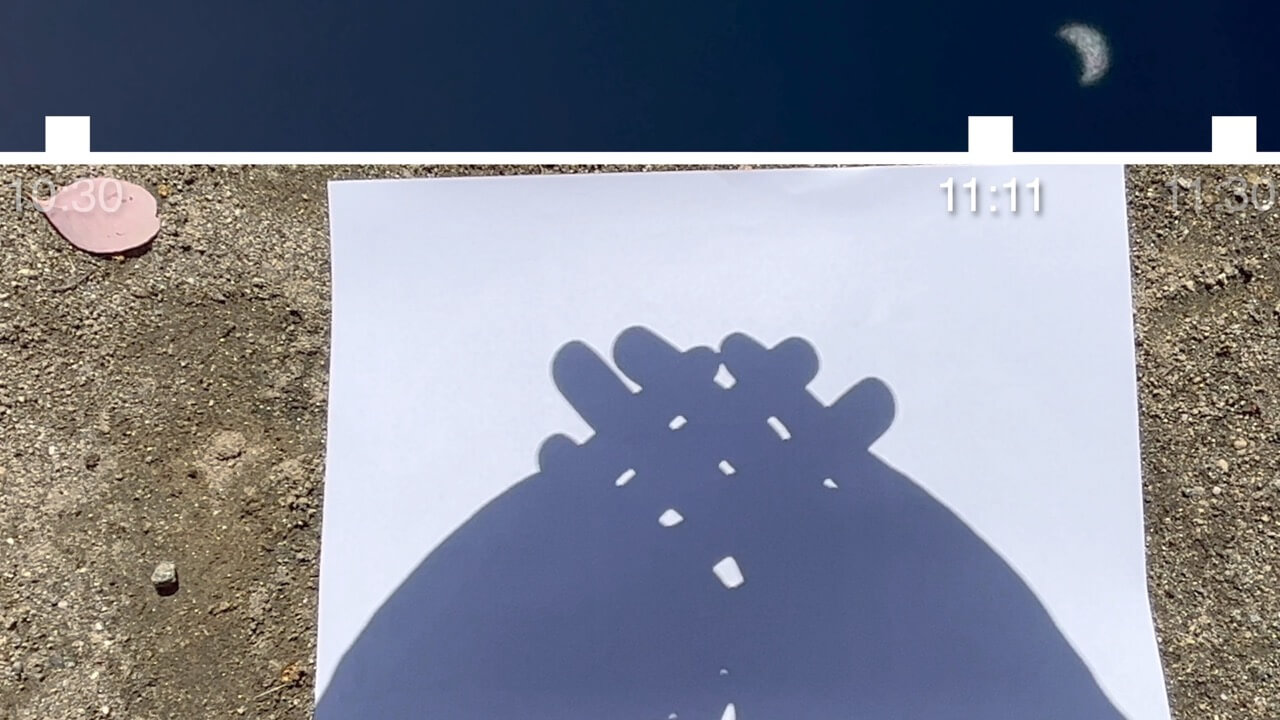
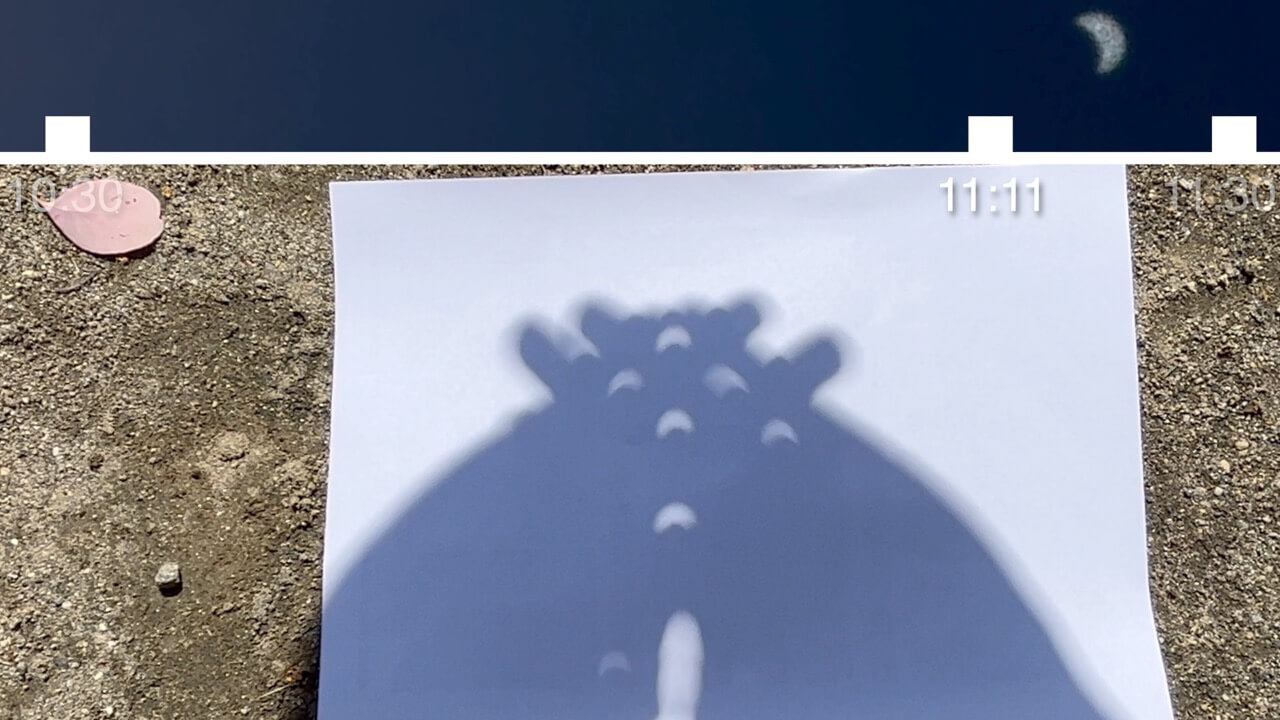
As the distance increases, you’ll see the eclipse’s image projected on the ground through the spaces between your fingers.
Another DIY method is to create a pinhole projector using cardboard. Cut an irregular-shaped hole in the cardboard and hold it up to the sunlight during the eclipse.
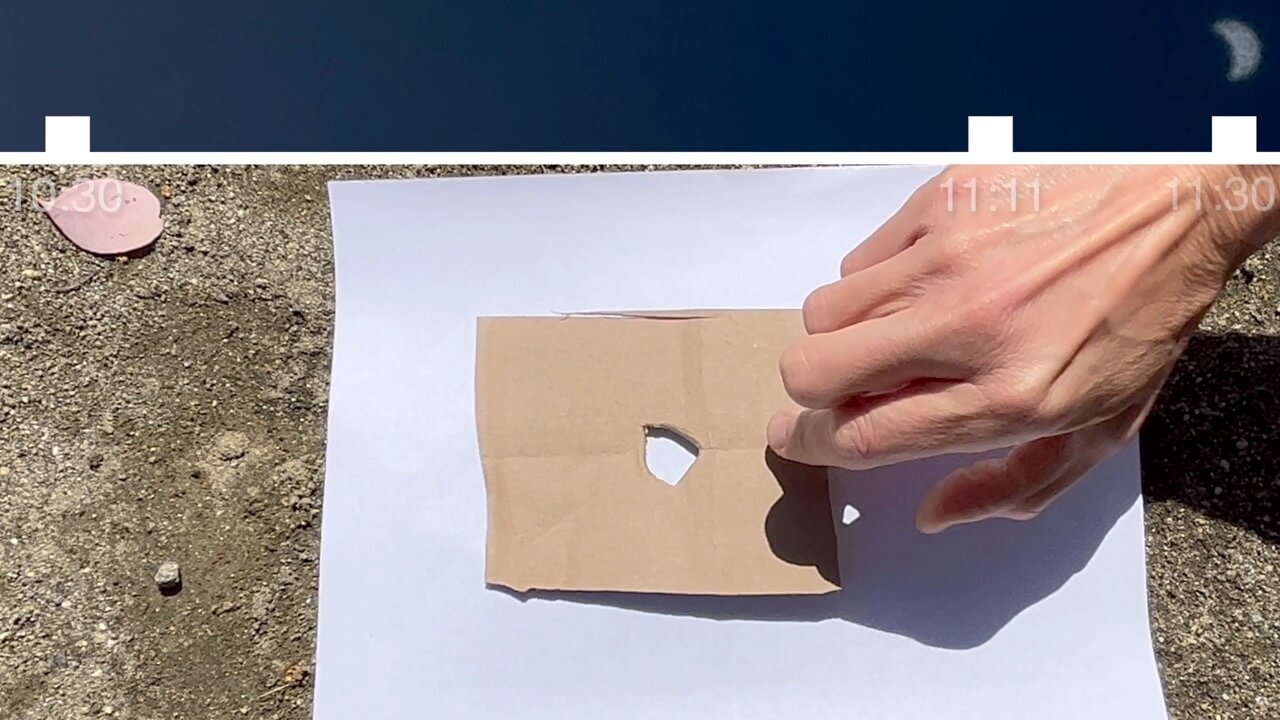
Move the cardboard away from the ground to see the eclipse’s shape appear on the surface below. The crescent-shaped eclipse will project onto the ground, especially if you can move it at least 4 or 5 feet off the ground.
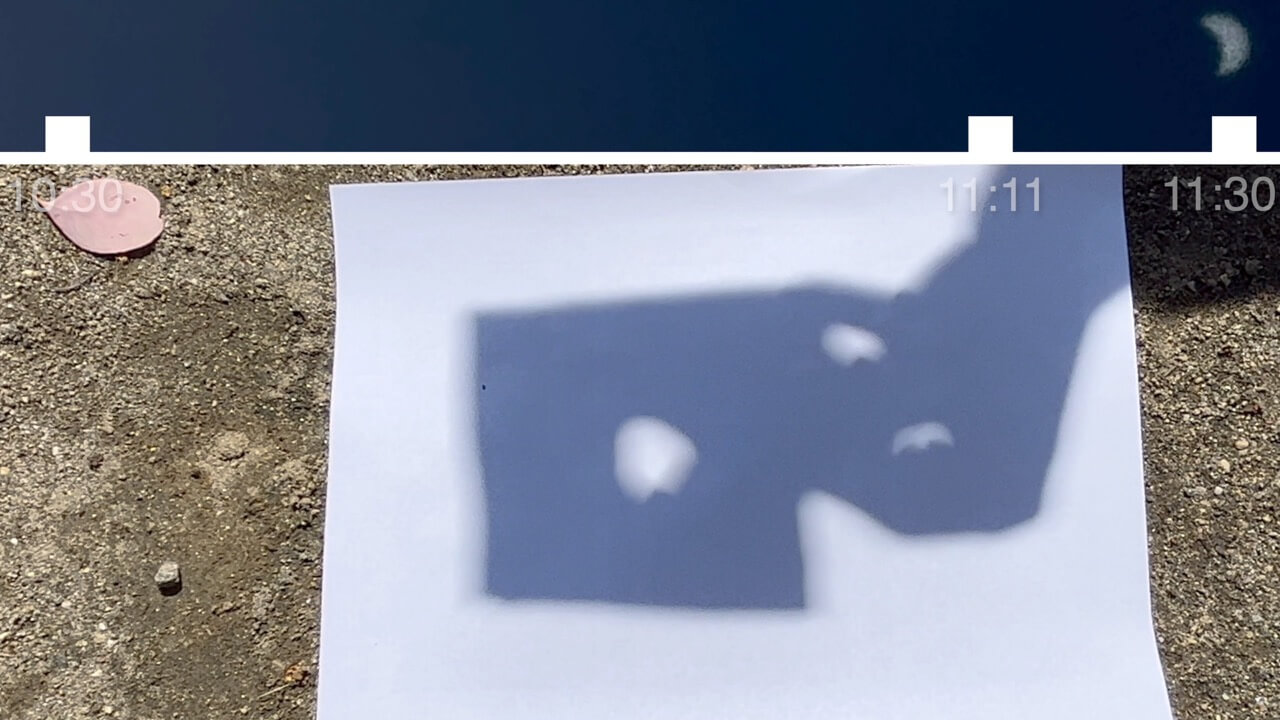
Experiment with these DIY methods and observe how the projected shapes change based on the distance between the pinhole and the ground. It’s a fun and interactive way to safely enjoy an eclipse’s beauty, and you already have everything you need (hands, mostly).
Suggested Articles:
