In our previous articles, we’ve walked you through the process of creating cyanotypes, starting from making your own cyanotype paper, exposing the cyanotypes to sunlight, and then developing the exposed cyanotypes in water. Now, we’ve reached the final step in our cyanotype creation journey: displaying your cyanotypes.
After all the effort you’ve put into creating your cyanotypes, it’s time to show them off. You may decide you want to hang your cyanotypes on your wall, or give them to a friend, or use them in other creative ways. Beautiful cyanotypes are created every time, so the display possibilities are endless.
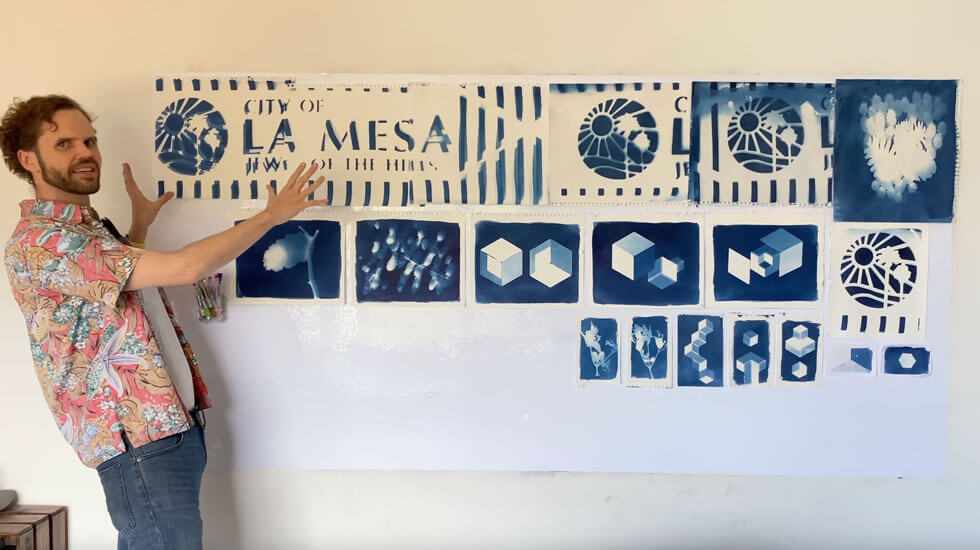
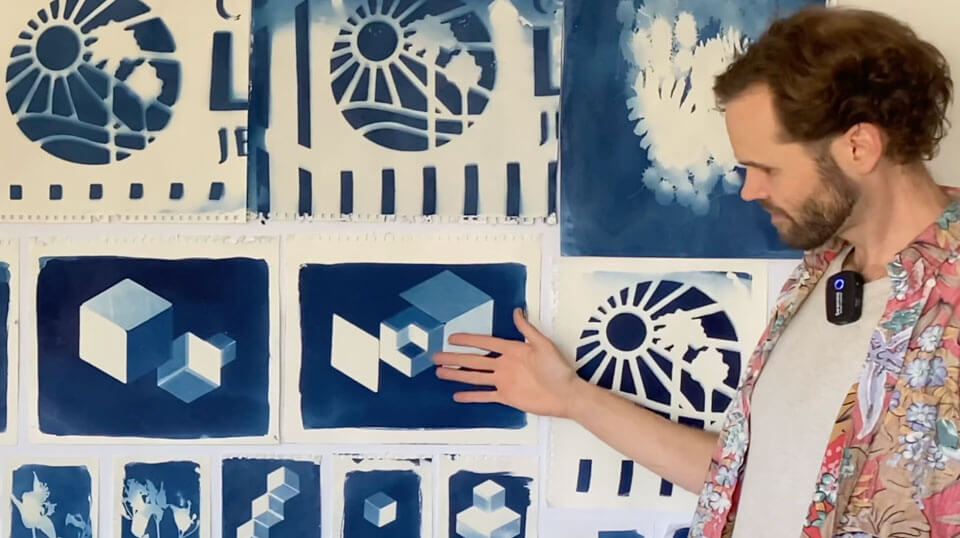
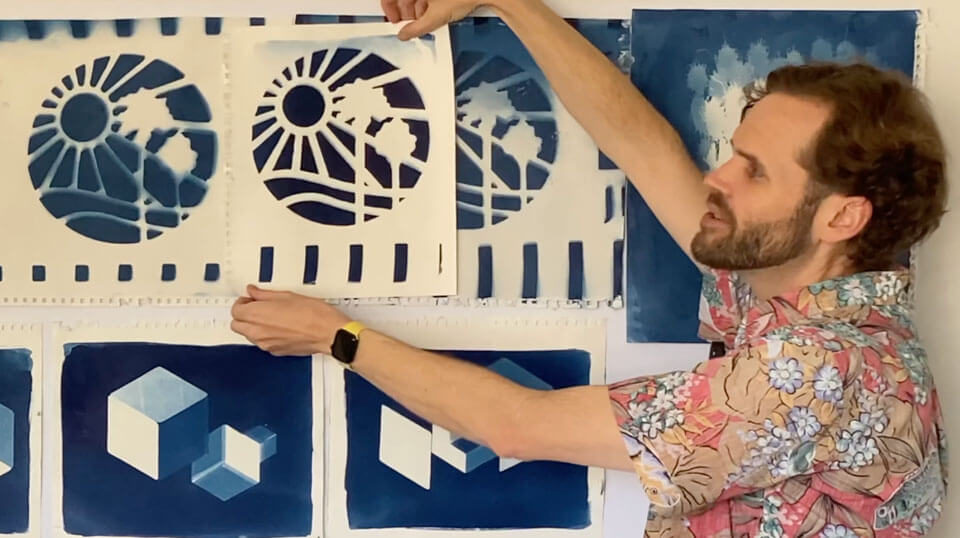
The images we’ve created in this series are diverse, with cyanotypes ranging from “life-size” park-bench cyanotypes, to intricate prints of acorns, pine cones, and tree branches. Some of the cyanotypes even feature unique cube designs, offering a striking contrast of blue and white. These cube cyanotypes were made using simple rhombus shapes.
Displaying your cyanotypes is more than just a way to decorate your space; cyanotypes are a celebration of the time and creativity you’ve invested in each piece. Every cyanotype tells a story: from the moment you coated the paper with the light-sensitive solution, to the final rinse that revealed the print.
As we conclude this series, I hope you’ve found the process of creating cyanotypes as rewarding as I always do. Cyanotype creation is a journey filled with discovery and creativity, and the final result is a unique piece of art that means many things to many people.
I hope your finished cyanotype will always remind you of a day you had fun making cyanotypes in the sun.
Suggested Articles: