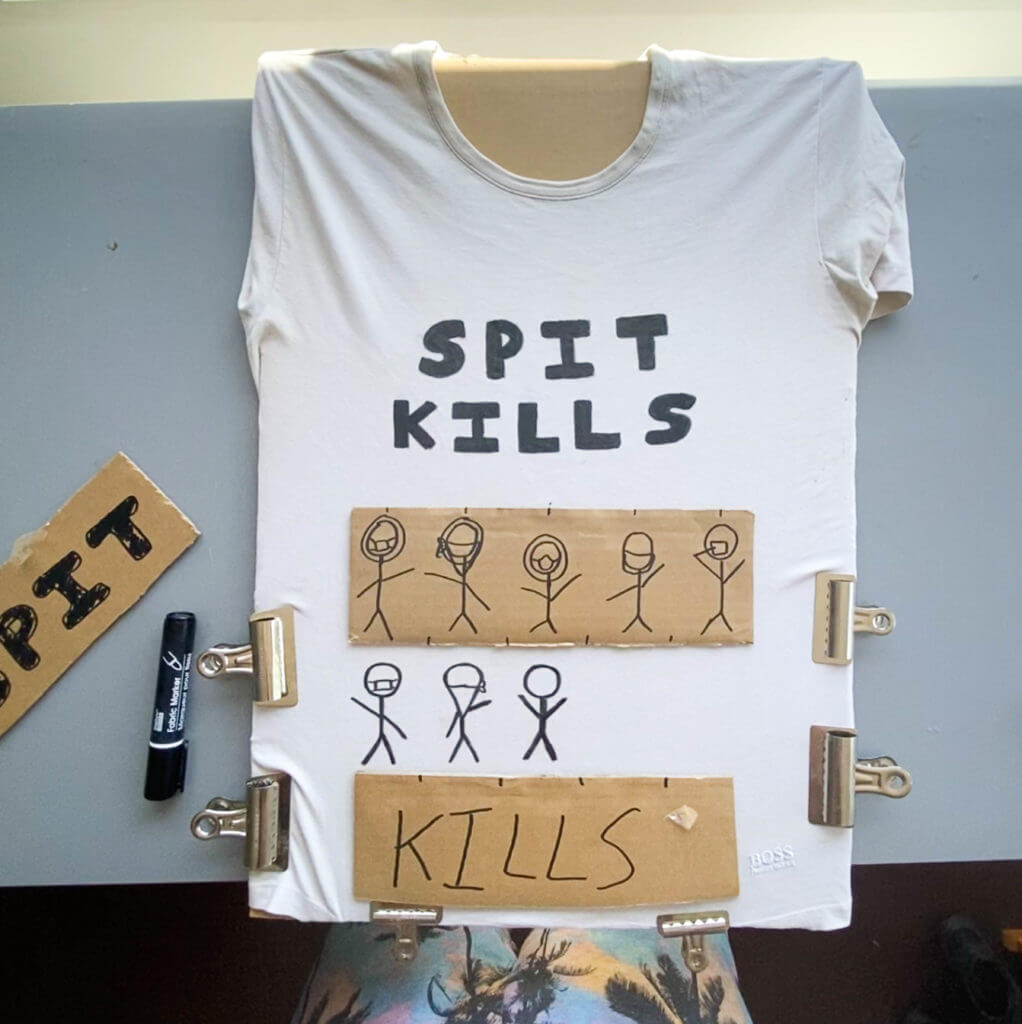
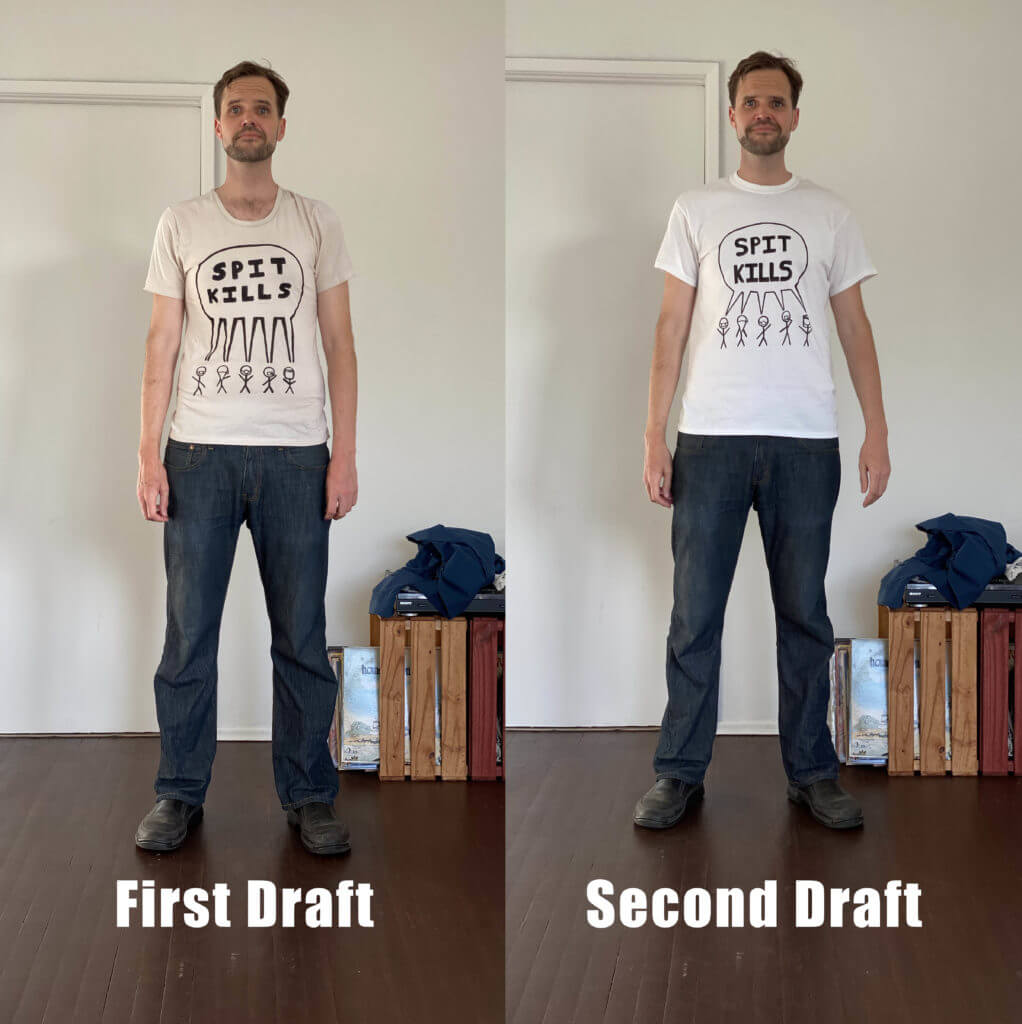
I got a fabric marker and a white T-shirt from the art store.
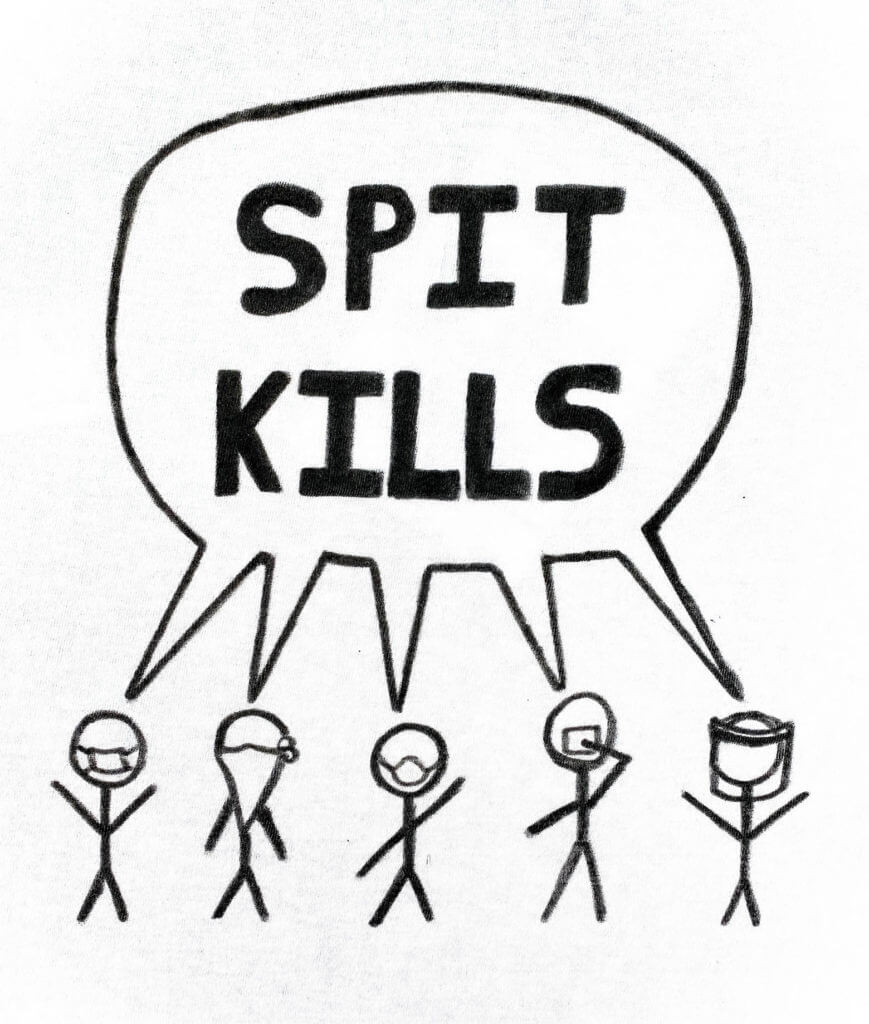
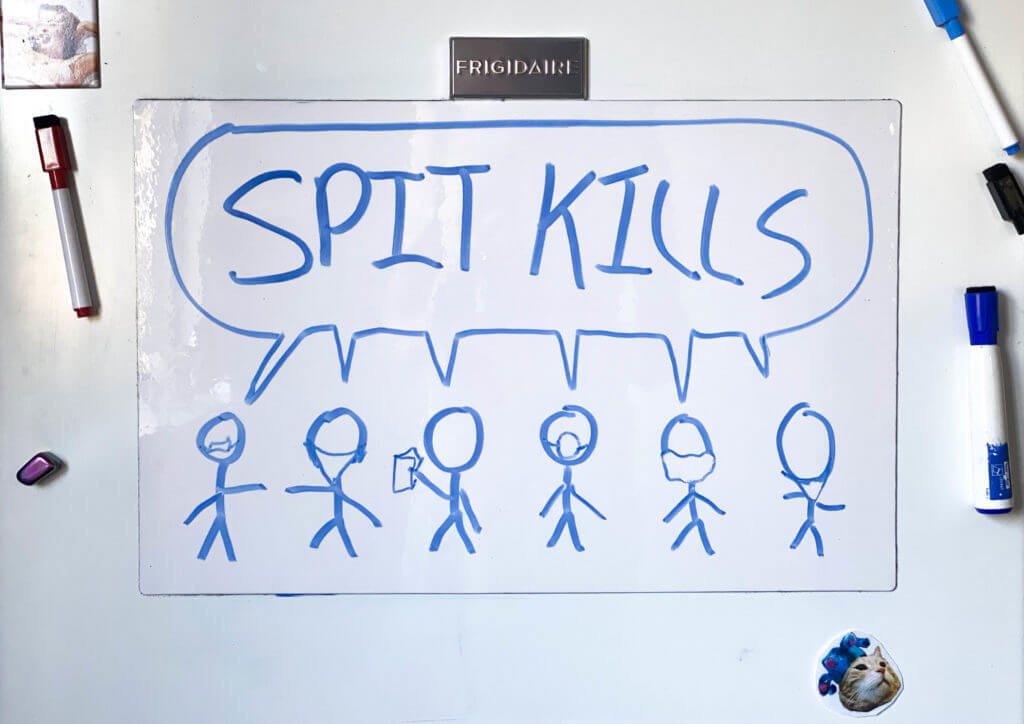
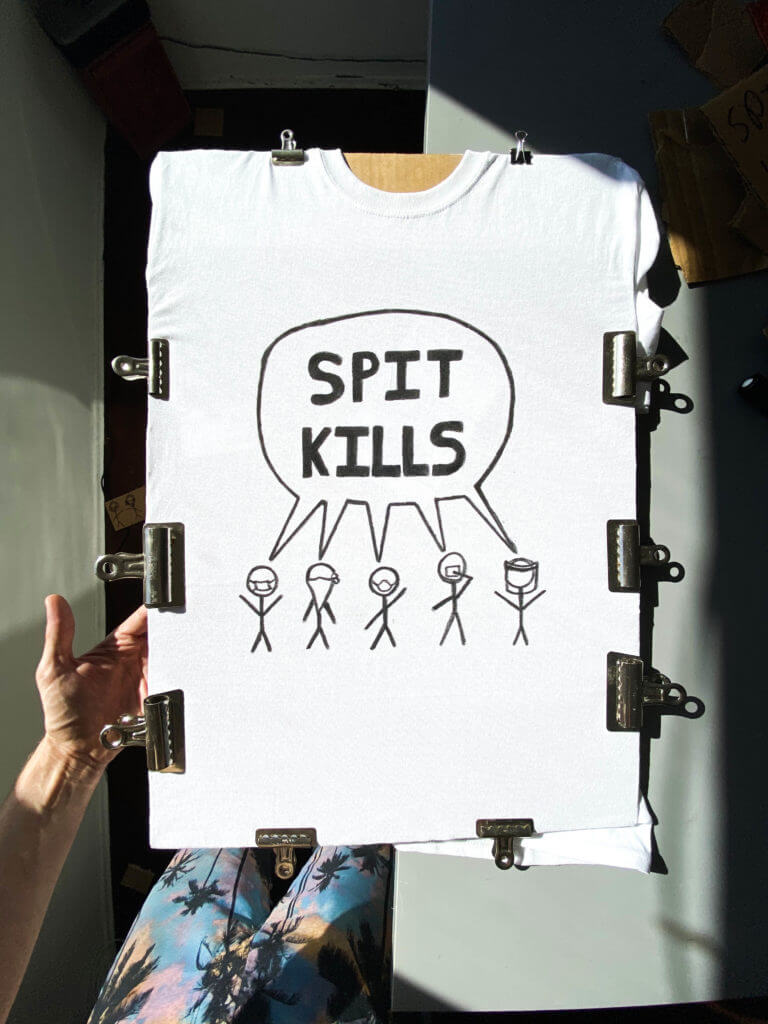
My intent was to make a T-shirt with the slogan “Spit Kills”.
The resulting shirt is satisfactory, hence this blog post.
To learn more, visit www.SpitKills.org
I like to focus on things
I got a fabric marker and a white T-shirt from the art store.
My intent was to make a T-shirt with the slogan “Spit Kills”.
The resulting shirt is satisfactory, hence this blog post.


To learn more, visit www.SpitKills.org
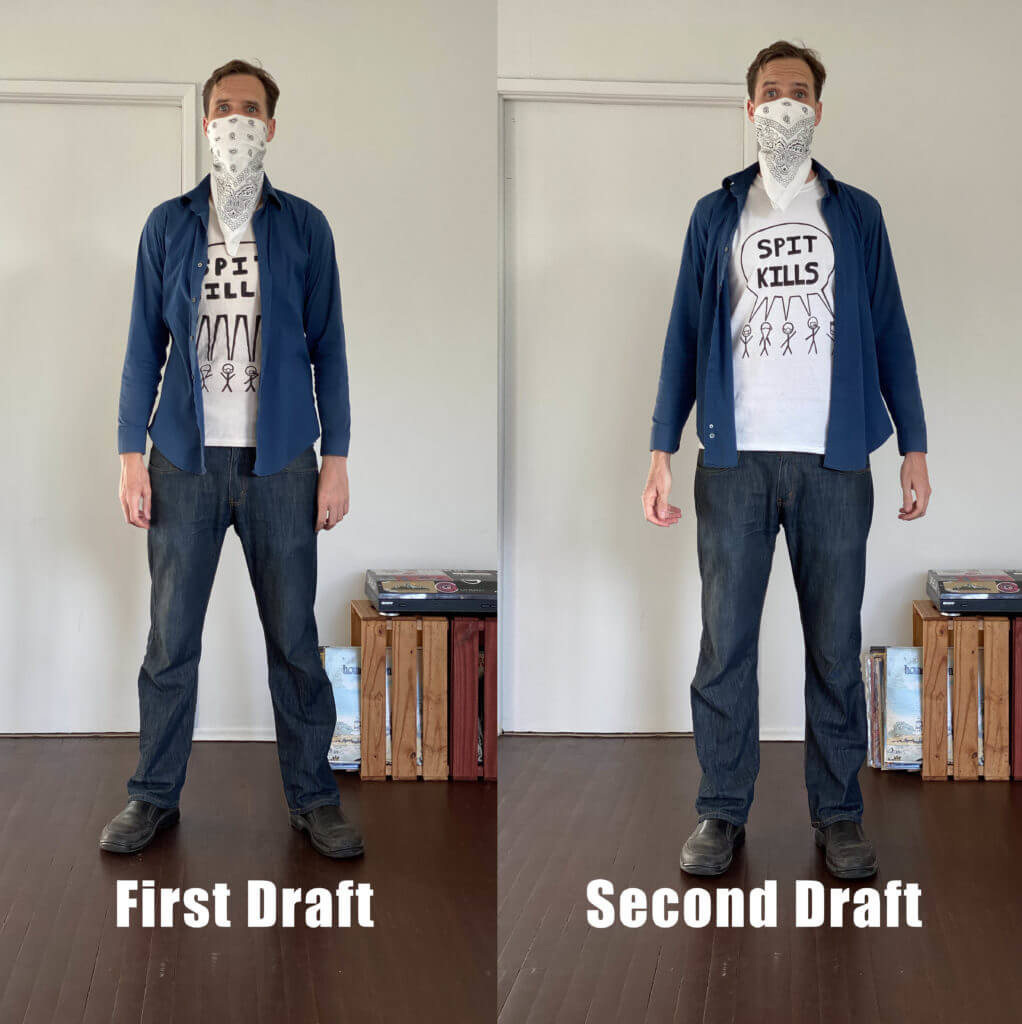
This experiment tests how much bacteria remains on face-covering fabric bandanas that are soaked in an iodized salt-water solution, compared to bandanas that are not soaked in an iodized salt-water solution.
This experiment is inspired by a scientific study published by Nature, in 2017.
The Nature article explains testing done on fabric face masks that were soaked in a salt solution, with intent to reduce viral transmission in face masks.
I am an amateur scientist and I do not have the ability to test for viral transmission of my salt-bandana face coverings.
While I can not test for viruses at home, I can test for bacteria on my homemade salt-bandana face covers.
– Five clean bandanas are soaked for 60 minutes in a 1:4 salt-water solution
– Allow the five salt-soaked bandanas to air dry
– Wear each individual bandana as a protective face covering while doing everyday tasks
– The five salt-soaked bandanas are then swabbed with sterile cotton
– Salt-soaked bandana swabs are brushed on agar in petri dishes
– Petri dishes are left in an 80 degree F kitchen cabinet for 72 hours
– Results are then observed and cataloged

All five salt-soaked bandanas show evidence of bacteria in their petri dishes
All five petri dishes showed evidence of small white, yellow, and red circular blobs
Three of the five petri dishes showed evidence of white fuzz
No definitive conclusions can be drawn from this experiment, due to the relatively-small sample size.
-Collect larger sample size (30 bandanas instead of 5)
-Wear the bandanas in a variety of different environments (beach, park, restaurant)
-Wear the bandanas in different weather conditions (sun, fog, mist)
-Wear salt-soaked bandanas while driving (windows down, air conditioning on)
-Ask friends to wear salt-soaked bandanas and return them for swabbing
Possible Name: BandaNaCl
(NaCl is the chemical formula for salt)
Ghost World is a movie from 2001.
It does not have ghosts, but it does have great music.
In this re-edit of Ghost World, I’ve removed all dialog and sound effects.
The result is a “Visual Soundtrack”, allowing the music to be enjoyed in a new context.
Jump to a song in the movie:
01 – “Jaan Pehechaan Ho” – Mohammed Rafi
02 – “Graduation Rap” – Vanilla, Jade, and Ebony
04 – “What Do I Get” – The Buzzcocks
05 – “Devil Got My Woman” – Skip James
06 – “Devil Got My Woman” – Skip James
07 – “Georgia On My Mind” – Vince Giordano & The Nighthawks
08 – “I Must Have It” – Vince Giordano & The Nighthawks
09 – “Scalding Hot Coffee Rag” – Craig Ventresco
10 – “Pickin’ Cotton Blues” – Blueshammer
11 – “Venezuela” – Lionel Belasco
12 – “Miranda” – Lionel Belasco
13 – “Solid As A Rock” – Ashford and Simpson
This is a recipe that I know by heart.
Makes 1 large skillet pizza, or two medium ones, depending on skillet depth.
Liberally oil a 10” cast iron skillet and set aside. (Or two 6” skillets)
Make the yeast mixture: Combine 1 Tbsp yeast, 1 tsp sugar, and 1/4 cup water (110 degrees f)
Let yeast mixture rise for 15 minutes.
Make the flour mixture: combine 250 grams of flour, 1 tsp sugar, 1 tsp salt, and optional 3 Tbsp ground flax
Make a well in the center of the flour mixture, and pour the olive oil and yeast mixture into the well.
Mix until the dough is sticky, then firmly press dough ball into pre-oiled skillet(s)
Cover dough in skillet, and let rise for 1-2 hours.
Heat oven to 425 degrees f.
Place skillet on bottom of oven and bake for 5 – 7 minutes.
Remove pizza from oven
Add sauce, cheese, and any desired toppings
Return pizza to oven for 12-18 minutes, depending on amount of toppings.
Remove pizza(s) from oven and let them rest, in the skillet, for 10 minutes.
Remove pizza by the slice, or whole.
Enjoy. 🙂
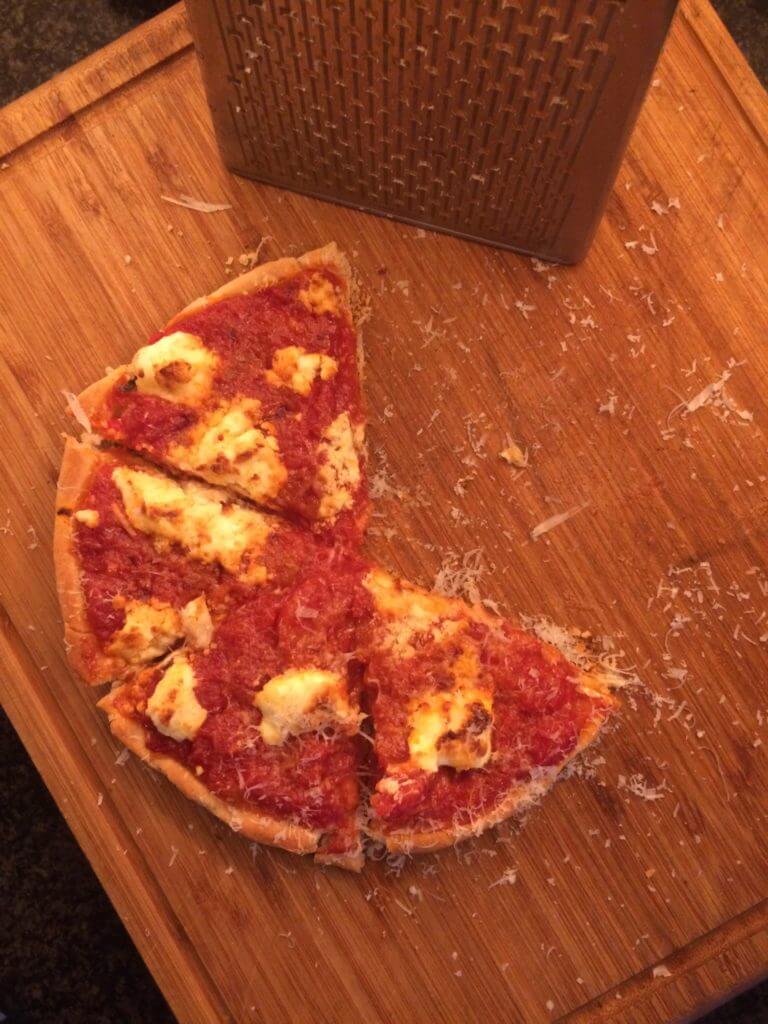
(For extra crispy crunch, safely hold the skillet under the oven’s broiler element for 15-20 seconds. )
In 1937, Walt Disney’s Snow White employed 200 artists and cost $1.5 million dollars.
In 2020, you can make an animated movie using only your smartphone, for free.
Do you need any special tools to make an animated movie?
If you have a camera-equipped smartphone or tablet, you can animate.
Where should I animate?
Animate wherever you are.
What should I animate?
Animate something that normally doesn’t move on its own.
Why should I animate?
Good question! 😀
Please let me know your answer.
Record a time-lapse of yourself emptying and organizing your junk drawer.
You may be surprised at the hidden gems you find inside.
This particular video was filmed with an iPhone 6S Plus, using the Skyflow time-lapse app.
Yesterday, I did my work from home on an Internet-connected computer.
Before I began my work yesterday, I enabled the “Screen Record” function of the computer’s Quicktime app.
I took the resulting 1-hour-and-9-minute screen recording and sped it up, resulting in a 30 second video.
So, that was a fun experiment in recording myself as I do various visual-computing tasks.
Today, I began more work of a similar nature.
Almost immediately, I was distracted by trying to find the right YouTube video to play in the background while I work.
I decided on Spotify and then did some more photoshop work.
I then got the idea to record my screen again, because I realized I was being kept honest by the idea of observation via screen recording.
I was being kept honest and on-task because I knew I’d eventually have to review my own actions when I reviewed the screen-recording video.
If I dawdled while I worked, that would mean a longer screen-recording video would be recorded, and that would mean more future work for me, to have to edit the footage later.
The point is:
Start recording yourself while working.
See what happens. 🙂
P.S. Immediately before posting this, I had turned on Quicktime’s “Screen Recording” feature.
I intended to post the screen-recording video of my writing this post, at the end of this post.
Turns out I hadn’t turned on the screen-recording feature after all.
I was kept honest and on-task, for no reason.
This is a video experiment involving a vinyl record album.
The Question: what does it look like when an overhead camera rotates at the same rate as a vinyl record, playing at 33 1/3 revolutions per minute?
The Answer: it looks delightfully disorienting.
The smartphone camera recorded an overhead video clip of the record player from a fixed, non-moving perspective.
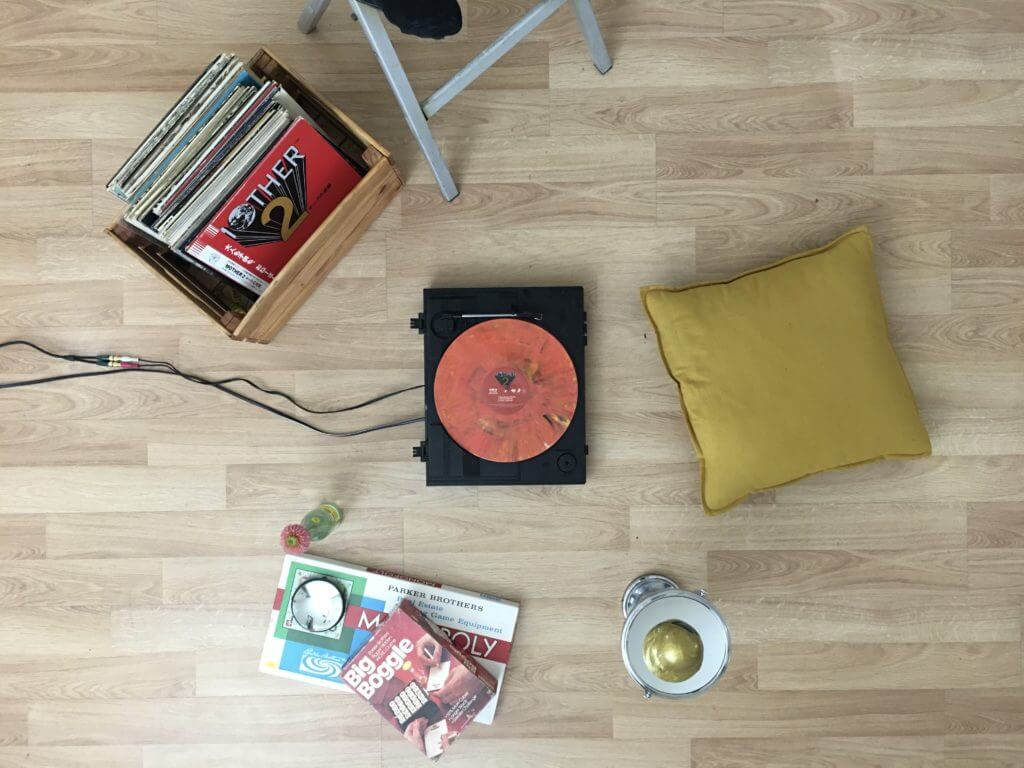
Later, in video-editing software, I set the video clip to rotate at the same rate, and in the same direction, as the record spun.
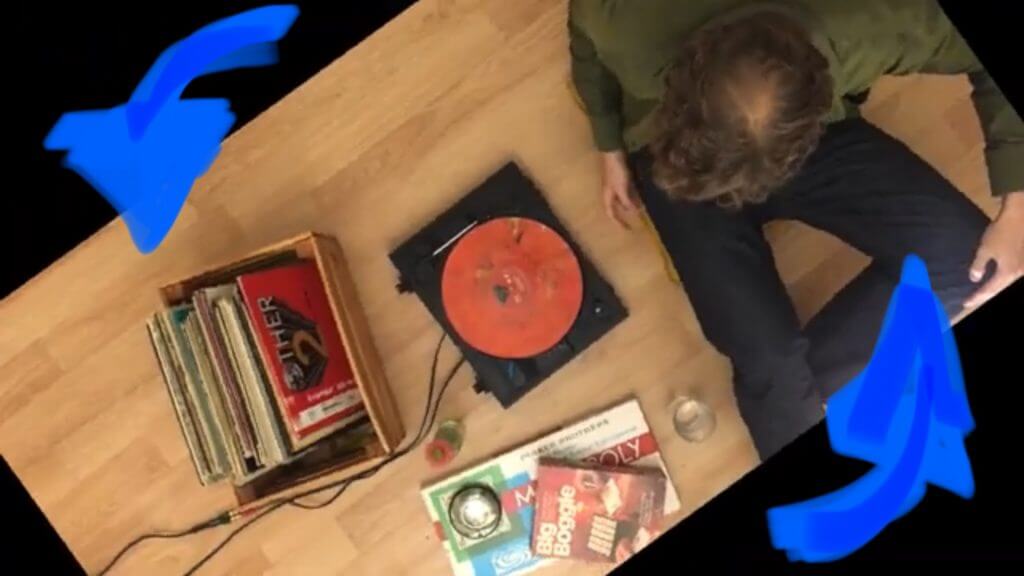
The Docking Scene from Interstellar features a similar visual, where a camera mounted in a fixed position is rotated to match a rotating subject.
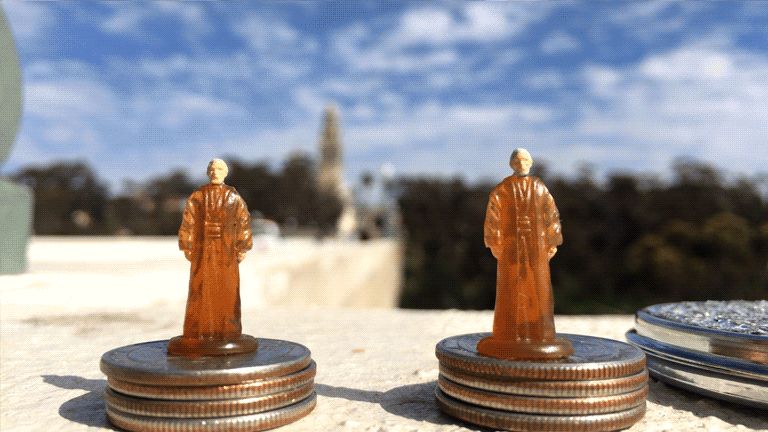
By placing a .35mm pinhole in front of the smartphone lens, everything in front of the camera becomes equally focused.
Macro photos can be taken by bringing objects very close to the lens/ pinhole combo.
Any kind of homemade pinhole will yield results, with improved sharpness coming from from laser-drilled / acid-etched pinholes.
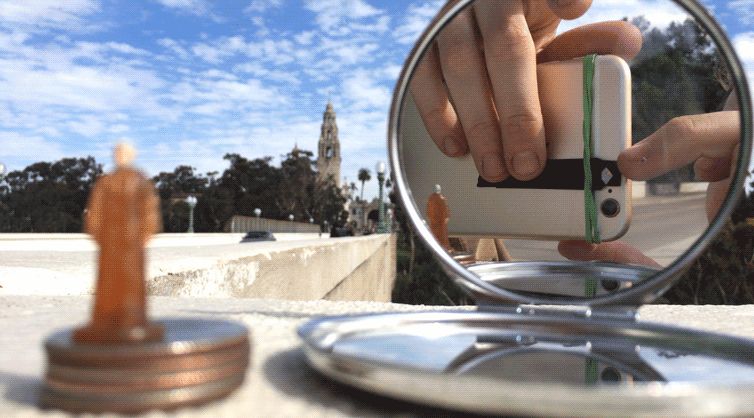
Example image follows:
Fact 1: Certain candies come wrapped in foil and this foil frequently has several small holes in it.
Fact 2: If a small hole is placed over a smartphone camera lens, the camera gains the apparent ability of being able to focus equally on all subjects in front of the lens.
Now that we know those two facts, let’s use a peanut butter cup wrapper to give our smartphone better close-focus abilities!
I’ve set up a few small dinosaur friends on a table. Every dinosaur is a different distance away from the lens, so the camera (operator) will have to choose which dinosaur will be in focus.
Here’s what it looks like when we focus on the green dinosaur, which is about 8 inches from the lens:
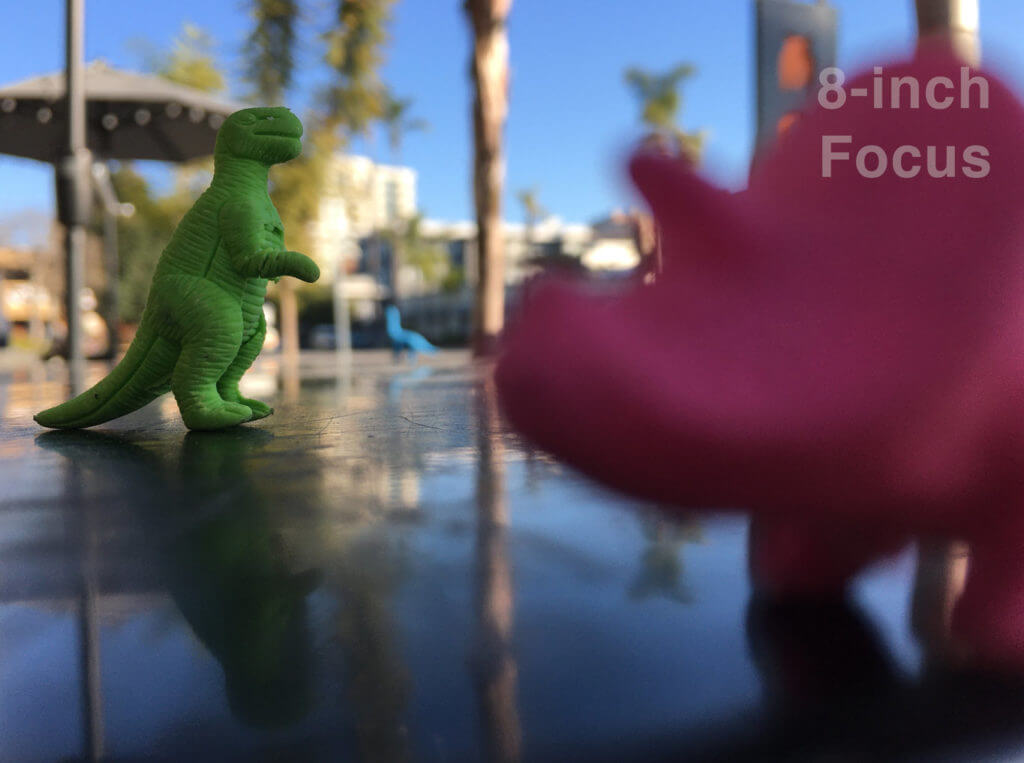
If the camera (operator) focuses the lens further into the background, then the blue dinosaur will come into focus, but this means that the green dinosaur will not be sharply focused.
Here’s what it looks like when we focus on the blue dinosaur, which is about 24 inches from the lens:
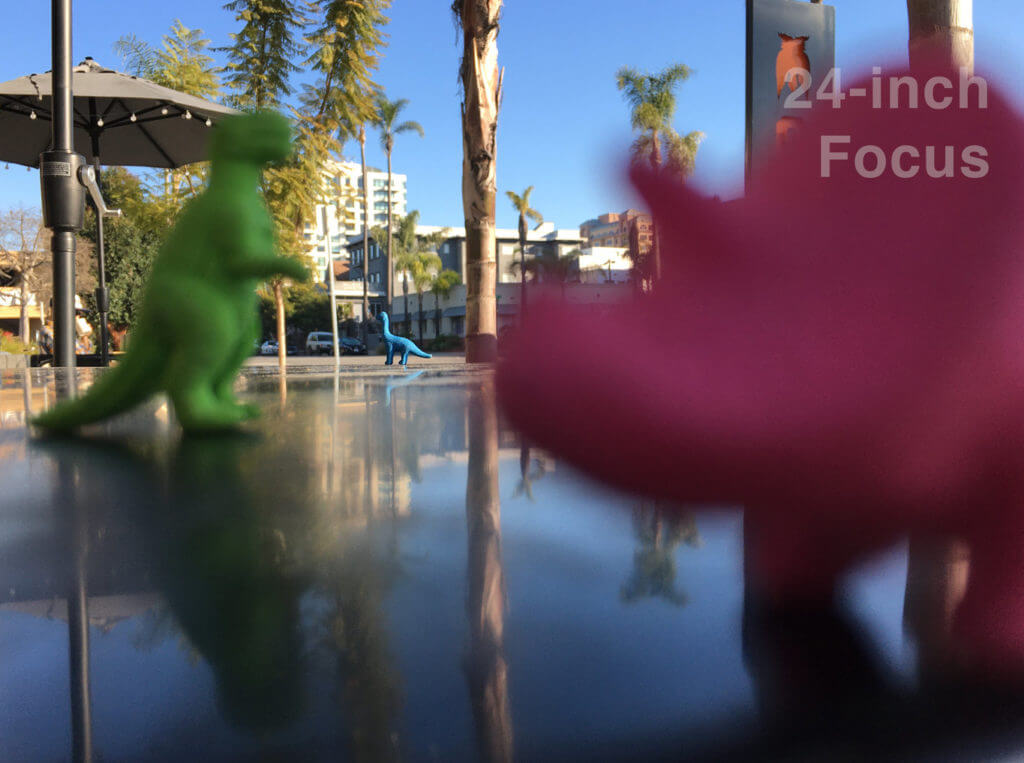
It is not possible for the smartphone lens to focus equally on the green dinosaur and the blue dinosaur.
How can all the dinosaurs come into focus?
We’ll need to use a peanut butter cup!
First, unwrap the peanut butter cup from its foil and look for tiny holes in the foil.
Center the candy-wrapper pinhole over the smartphone lens and bring it close enough to the lens so that an image appears on the smartphone screen.
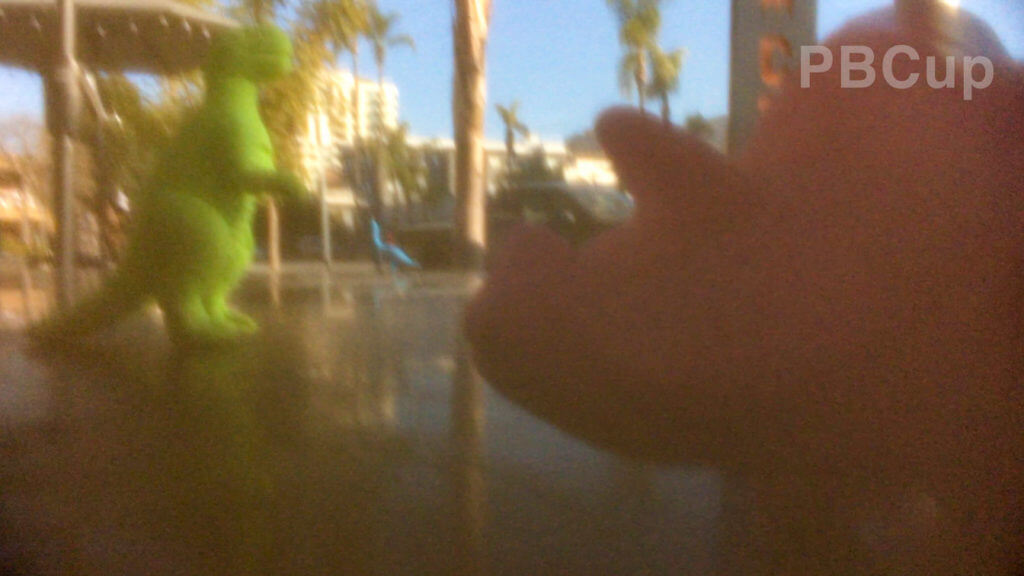
All three dinosaurs are now all the same level of focus, but that focus is not particularly sharp.
In pinhole-photography terms, all three dinosaurs are now “equally unsharp”.
By pressing the pinhole right up over the smartphone lens, we’re creating a smaller opening for the light to enter the lens, also called an “aperture” or “f-stop”.
The small aperture means that more of the image appears to be “in focus”, relative to using a larger aperture on the same lens.
Khan Academy has a video that explains why a smaller camera aperture results in more apparent focus. https://www.khanacademy.org/partner-content/pixar/virtual-cameras/virtual-cameras-1/v/optics1-final
There is an ideal pinhole size for any given smartphone camera and it’s a good idea to try out several pinhole sizes to see which results in the sharpest (unsharpest?) image.
Below are the results of various other pinhole sizes: 1mm, .35mm, .25mm, .1mm, and .05mm
Unedited footage of all the pinholes, plus some bonus candy-wrapper pinholes: https://youtu.be/UFMNVIJ1bsk