I like to focus on things
“Camera” is Latin for “Chamber”, or “Room”.
“Aperture” is Latin for “Opening”.
To make a room-sized camera, you’ll need a room with an opening that can let light in.
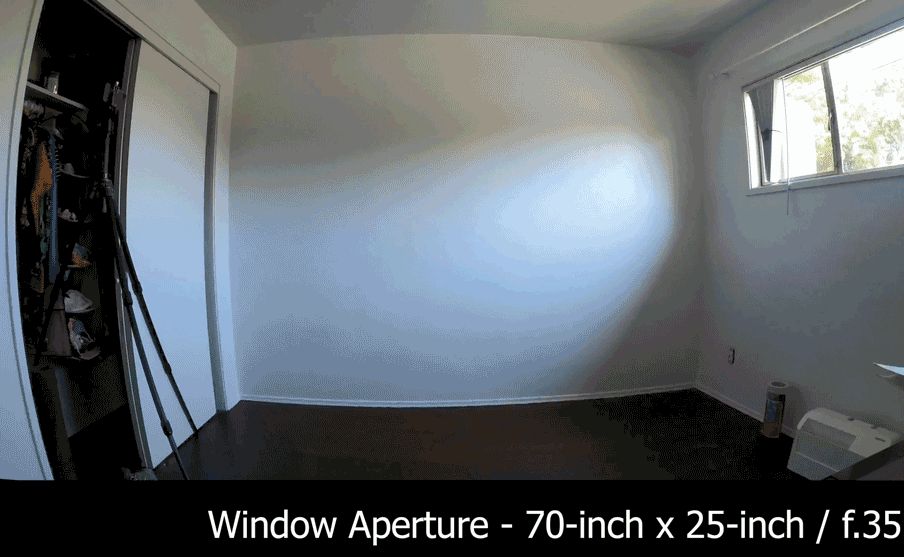
An 11-foot by 9-foot room will be the interior of our camera.
A 70-inch by 25-inch window is the aperture that controls how much light enters the room.
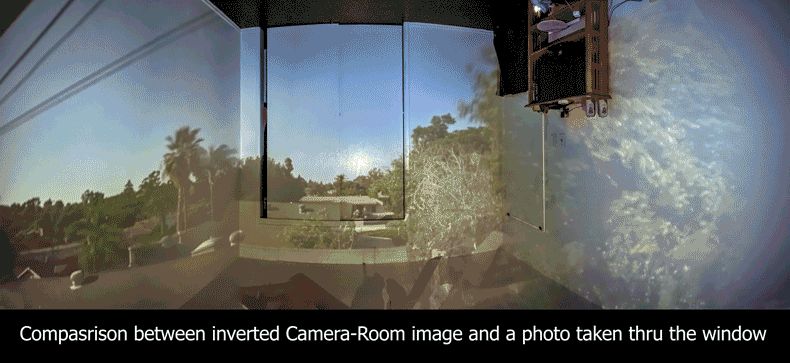
By darkening the room and placing various-sized holes over the window, we can begin to see an image of the outside world on the interior walls of the room.
The effect is similar that of a photographic camera… but this camera is large enough to also house the photographer within it.
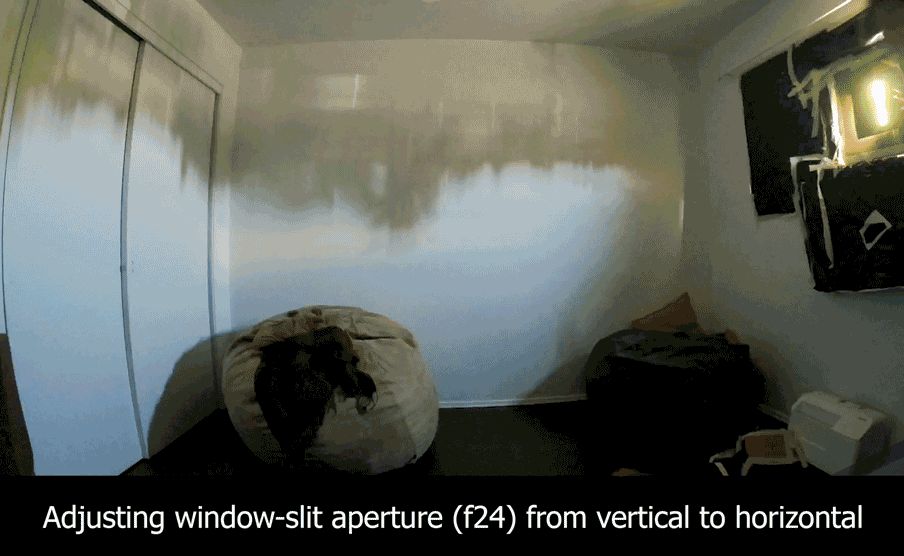
If we replace the circular window aperture with an elongated slit, we get different effects, as shown below.
To try this experiment yourself, you’ll need three things:
Get the room as dark as possible, and then cover the window with the cardboard aperture.
Small cardboard aperture = dimmer but sharper image.
Large cardboard aperture = brighter but fuzzier image.
To see the whole camera-obscrura-making process, including the totally-unnecessary math equations, here’s a video with basically the same content you can view in these gif images.
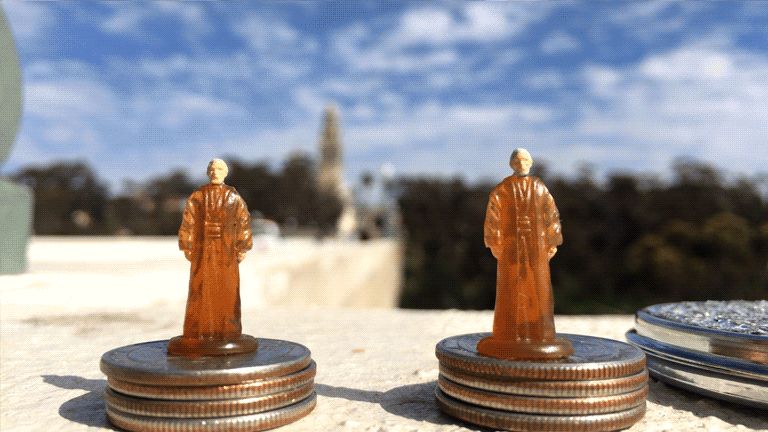
By placing a .35mm pinhole in front of the smartphone lens, everything in front of the camera becomes equally focused.
Macro photos can be taken by bringing objects very close to the lens/ pinhole combo.
Any kind of homemade pinhole will yield results, with improved sharpness coming from from laser-drilled / acid-etched pinholes.
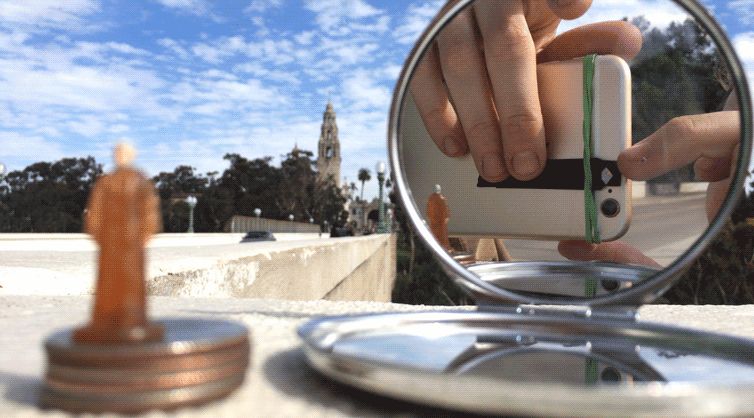
Example image follows:
Fact 1: Certain candies come wrapped in foil and this foil frequently has several small holes in it.
Fact 2: If a small hole is placed over a smartphone camera lens, the camera gains the apparent ability of being able to focus equally on all subjects in front of the lens.
Now that we know those two facts, let’s use a peanut butter cup wrapper to give our smartphone better close-focus abilities!
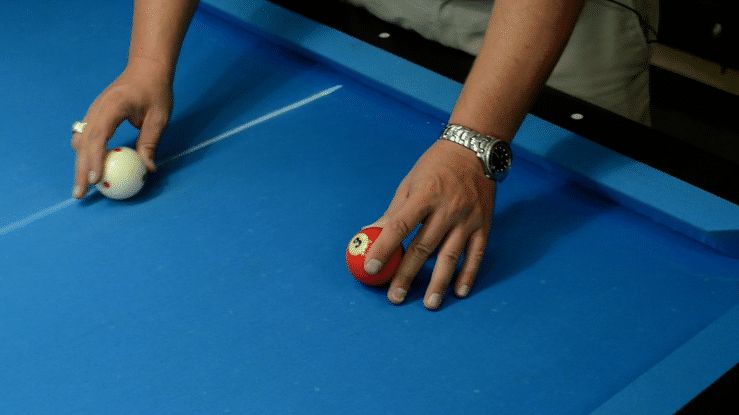
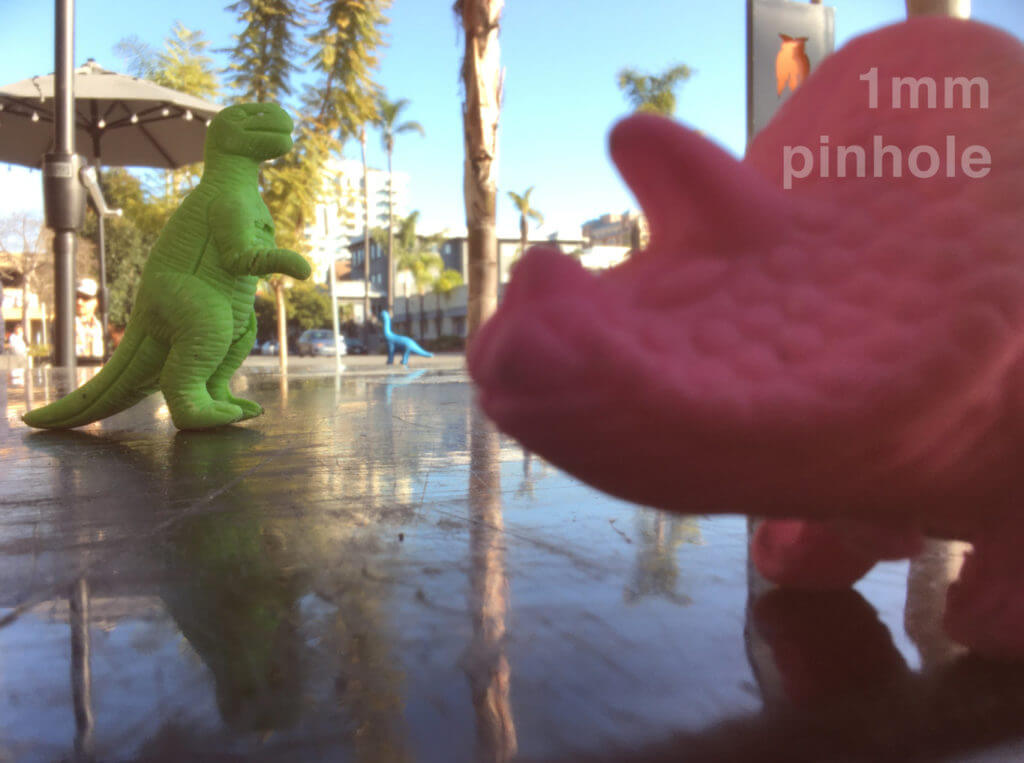
I’ve set up a few small dinosaur friends on a table. Every dinosaur is a different distance away from the lens, so the camera (operator) will have to choose which dinosaur will be in focus.
Here’s what it looks like when we focus on the green dinosaur, which is about 8 inches from the lens:

If the camera (operator) focuses the lens further into the background, then the blue dinosaur will come into focus, but this means that the green dinosaur will not be sharply focused.
Here’s what it looks like when we focus on the blue dinosaur, which is about 24 inches from the lens:
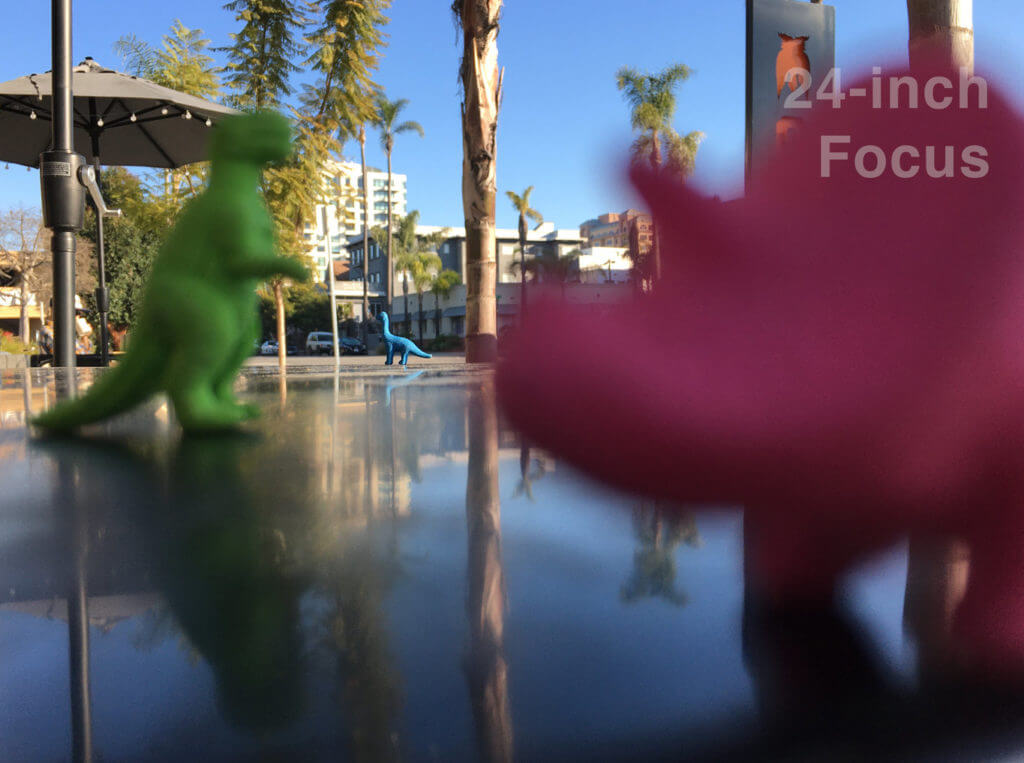
It is not possible for the smartphone lens to focus equally on the green dinosaur and the blue dinosaur.
How can all the dinosaurs come into focus?
We’ll need to use a peanut butter cup!
First, unwrap the peanut butter cup from its foil and look for tiny holes in the foil.
Center the candy-wrapper pinhole over the smartphone lens and bring it close enough to the lens so that an image appears on the smartphone screen.
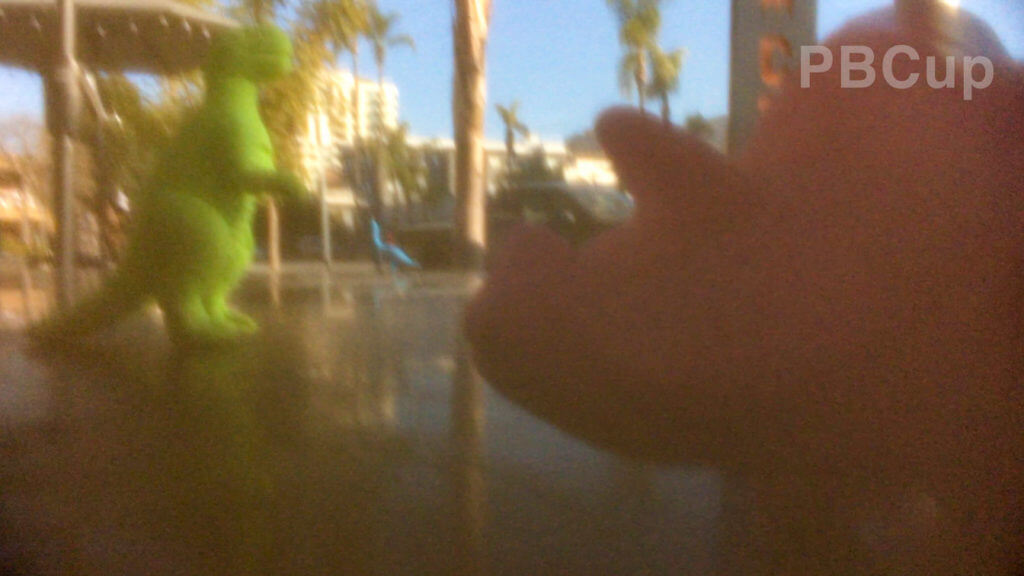
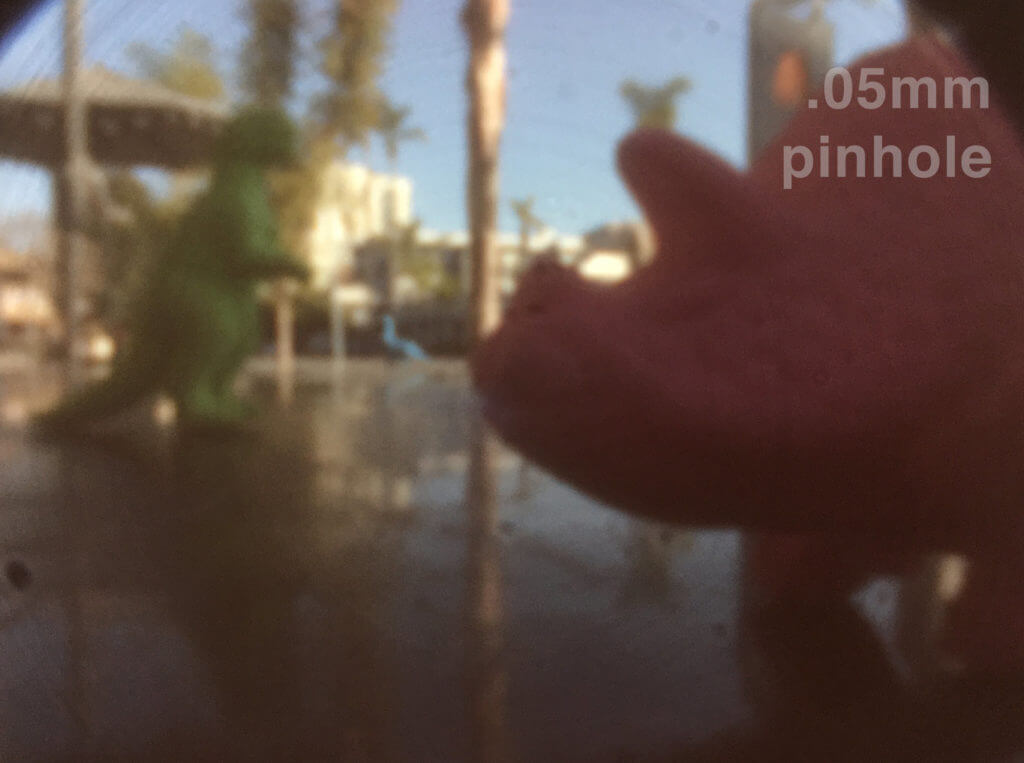
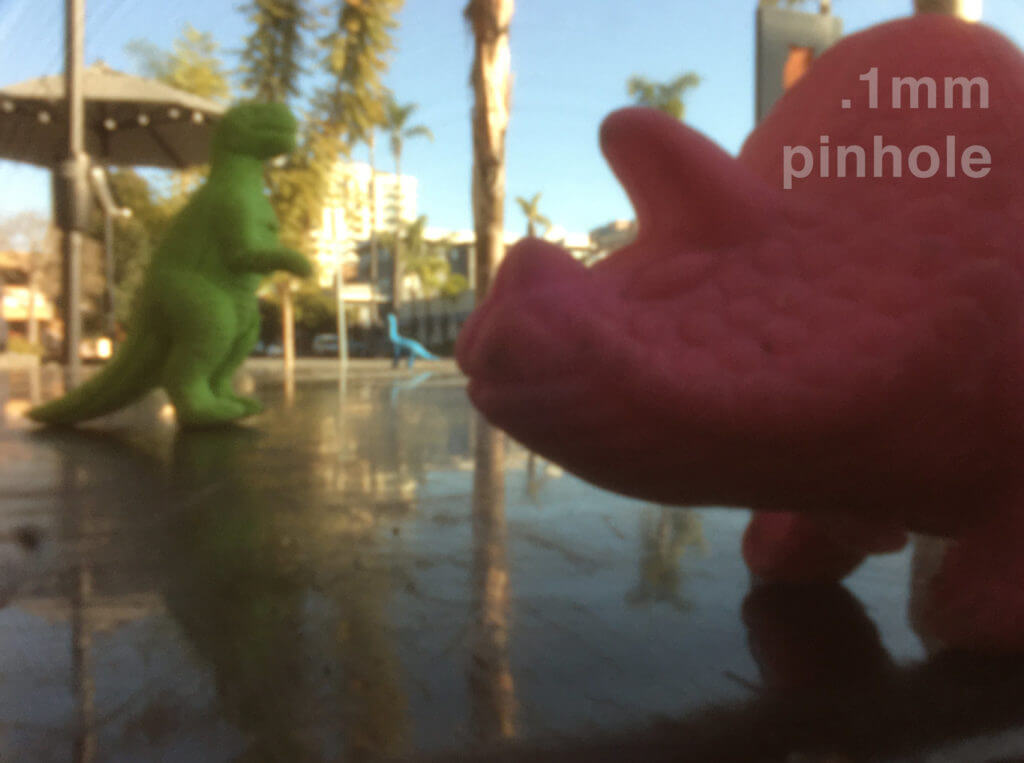
All three dinosaurs are now all the same level of focus, but that focus is not particularly sharp.
In pinhole-photography terms, all three dinosaurs are now “equally unsharp”.
By pressing the pinhole right up over the smartphone lens, we’re creating a smaller opening for the light to enter the lens, also called an “aperture” or “f-stop”.
The small aperture means that more of the image appears to be “in focus”, relative to using a larger aperture on the same lens.
Khan Academy has a video that explains why a smaller camera aperture results in more apparent focus. https://www.khanacademy.org/partner-content/pixar/virtual-cameras/virtual-cameras-1/v/optics1-final
There is an ideal pinhole size for any given smartphone camera and it’s a good idea to try out several pinhole sizes to see which results in the sharpest (unsharpest?) image.
Below are the results of various other pinhole sizes: 1mm, .35mm, .25mm, .1mm, and .05mm


Unedited footage of all the pinholes, plus some bonus candy-wrapper pinholes: https://youtu.be/UFMNVIJ1bsk
Most smartphone cameras have a limited ability to focus on objects very close to their lens.
Place a piece of foil with a pinhole over your smartphone camera lens and it will be able to resolve images very close to the lens.
For more information on how this is working, try an online search for “pinhole photography”.
Regarding questions you may have:
-Any kind of needle will work, just be sure to twist it slowly as you press it into the foil.
-Any kind of foil will work, including candy bar wrappers (and mini peanut butter cup foils).
-Any kind of smartphone will work, with some smartphones showing more corner-darkening than others (this is called “vignetting”).
Some fun things to photograph:
– Your eyeball – Postage stamps – Sand – Pizza – Denim – Your mouth – Magazine Ads – Wood – Ants – Flowers – Fingers – Pizza – Snails – Water drops – Your nostril – Coins
If there is sufficient interest, I’ll provide a follow-up video with more specifics and examples.
Have fun with your new lens on life! 😀
You’re sitting on the bus one early spring evening. It’s going to be a long-ish ride: 90 minutes. Time enough to make it through a few chapters in your book, or perhaps to compose a love letter to your sweetie using your smartphone. What’s that? You don’t have a book? AND your smartphone is sitting at 2% battery life? Oh no! What to do?
If you’re a photographer, you’ll take the opportunity to reach into your bag (backpack) of tricks (gear) and grab your light-tight box with chunks of glass sticking out of it (camera) to take some photos. In this particular case, it’s a Nikon D810 with a Zeiss 21mm f2.8 lens, courtesy of Borrowlenses.
Curiosity strikes as you wonder how a low-ISO, long exposure might look on this bus. Setting up your “compact” tripod that just barely fits in your backpack, you align your first shot.
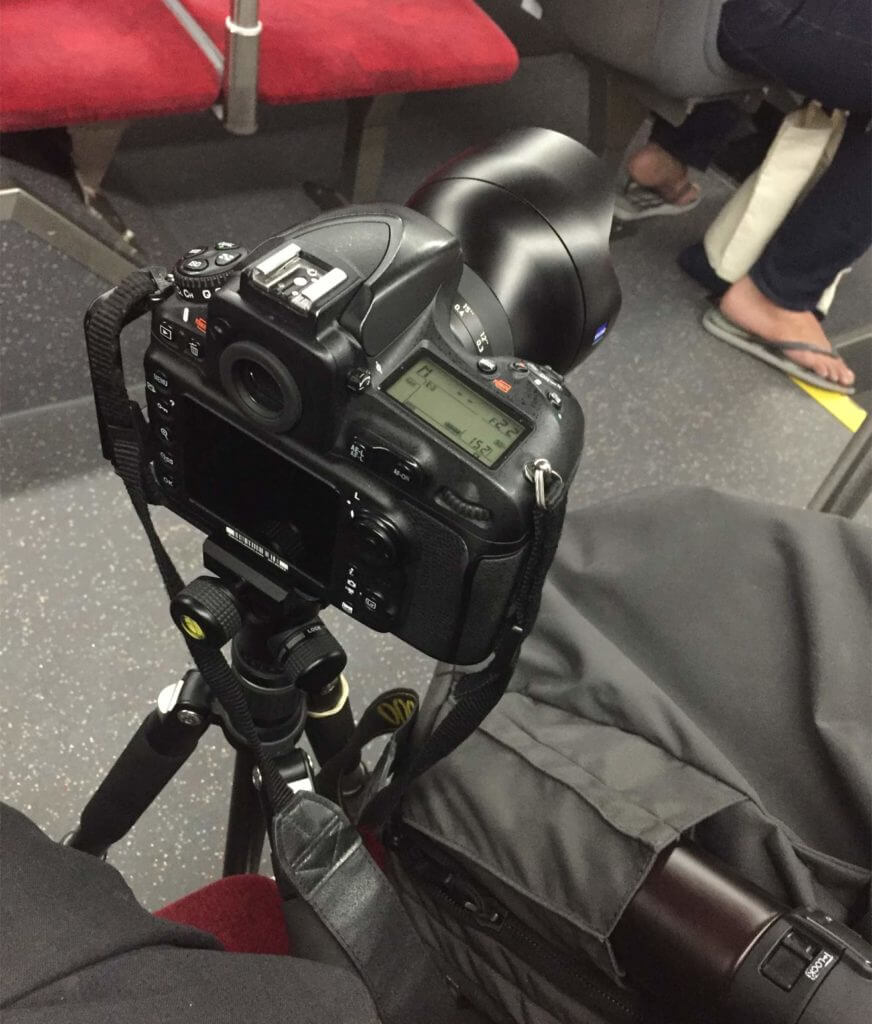
Dial down the f-stop to f22, the ISO to LOW 3 (actually ISO 31, according to the EXIF info), and the exposure duration to T Mode. It’s time for the inaugural press of the shutter. Now: we wait…
And wait…
And then just a bit more waiting…
You press the shutter to end the exposure, 77 seconds later. And the resulting photo?

It’s not without it’s charms. As a test, it’s a successful failure. What happens when you turn the camera 180 degrees and record a subject who is aware of the camera and can try to hold as still as possible for the exposure duration? Well, you’re about to find out!
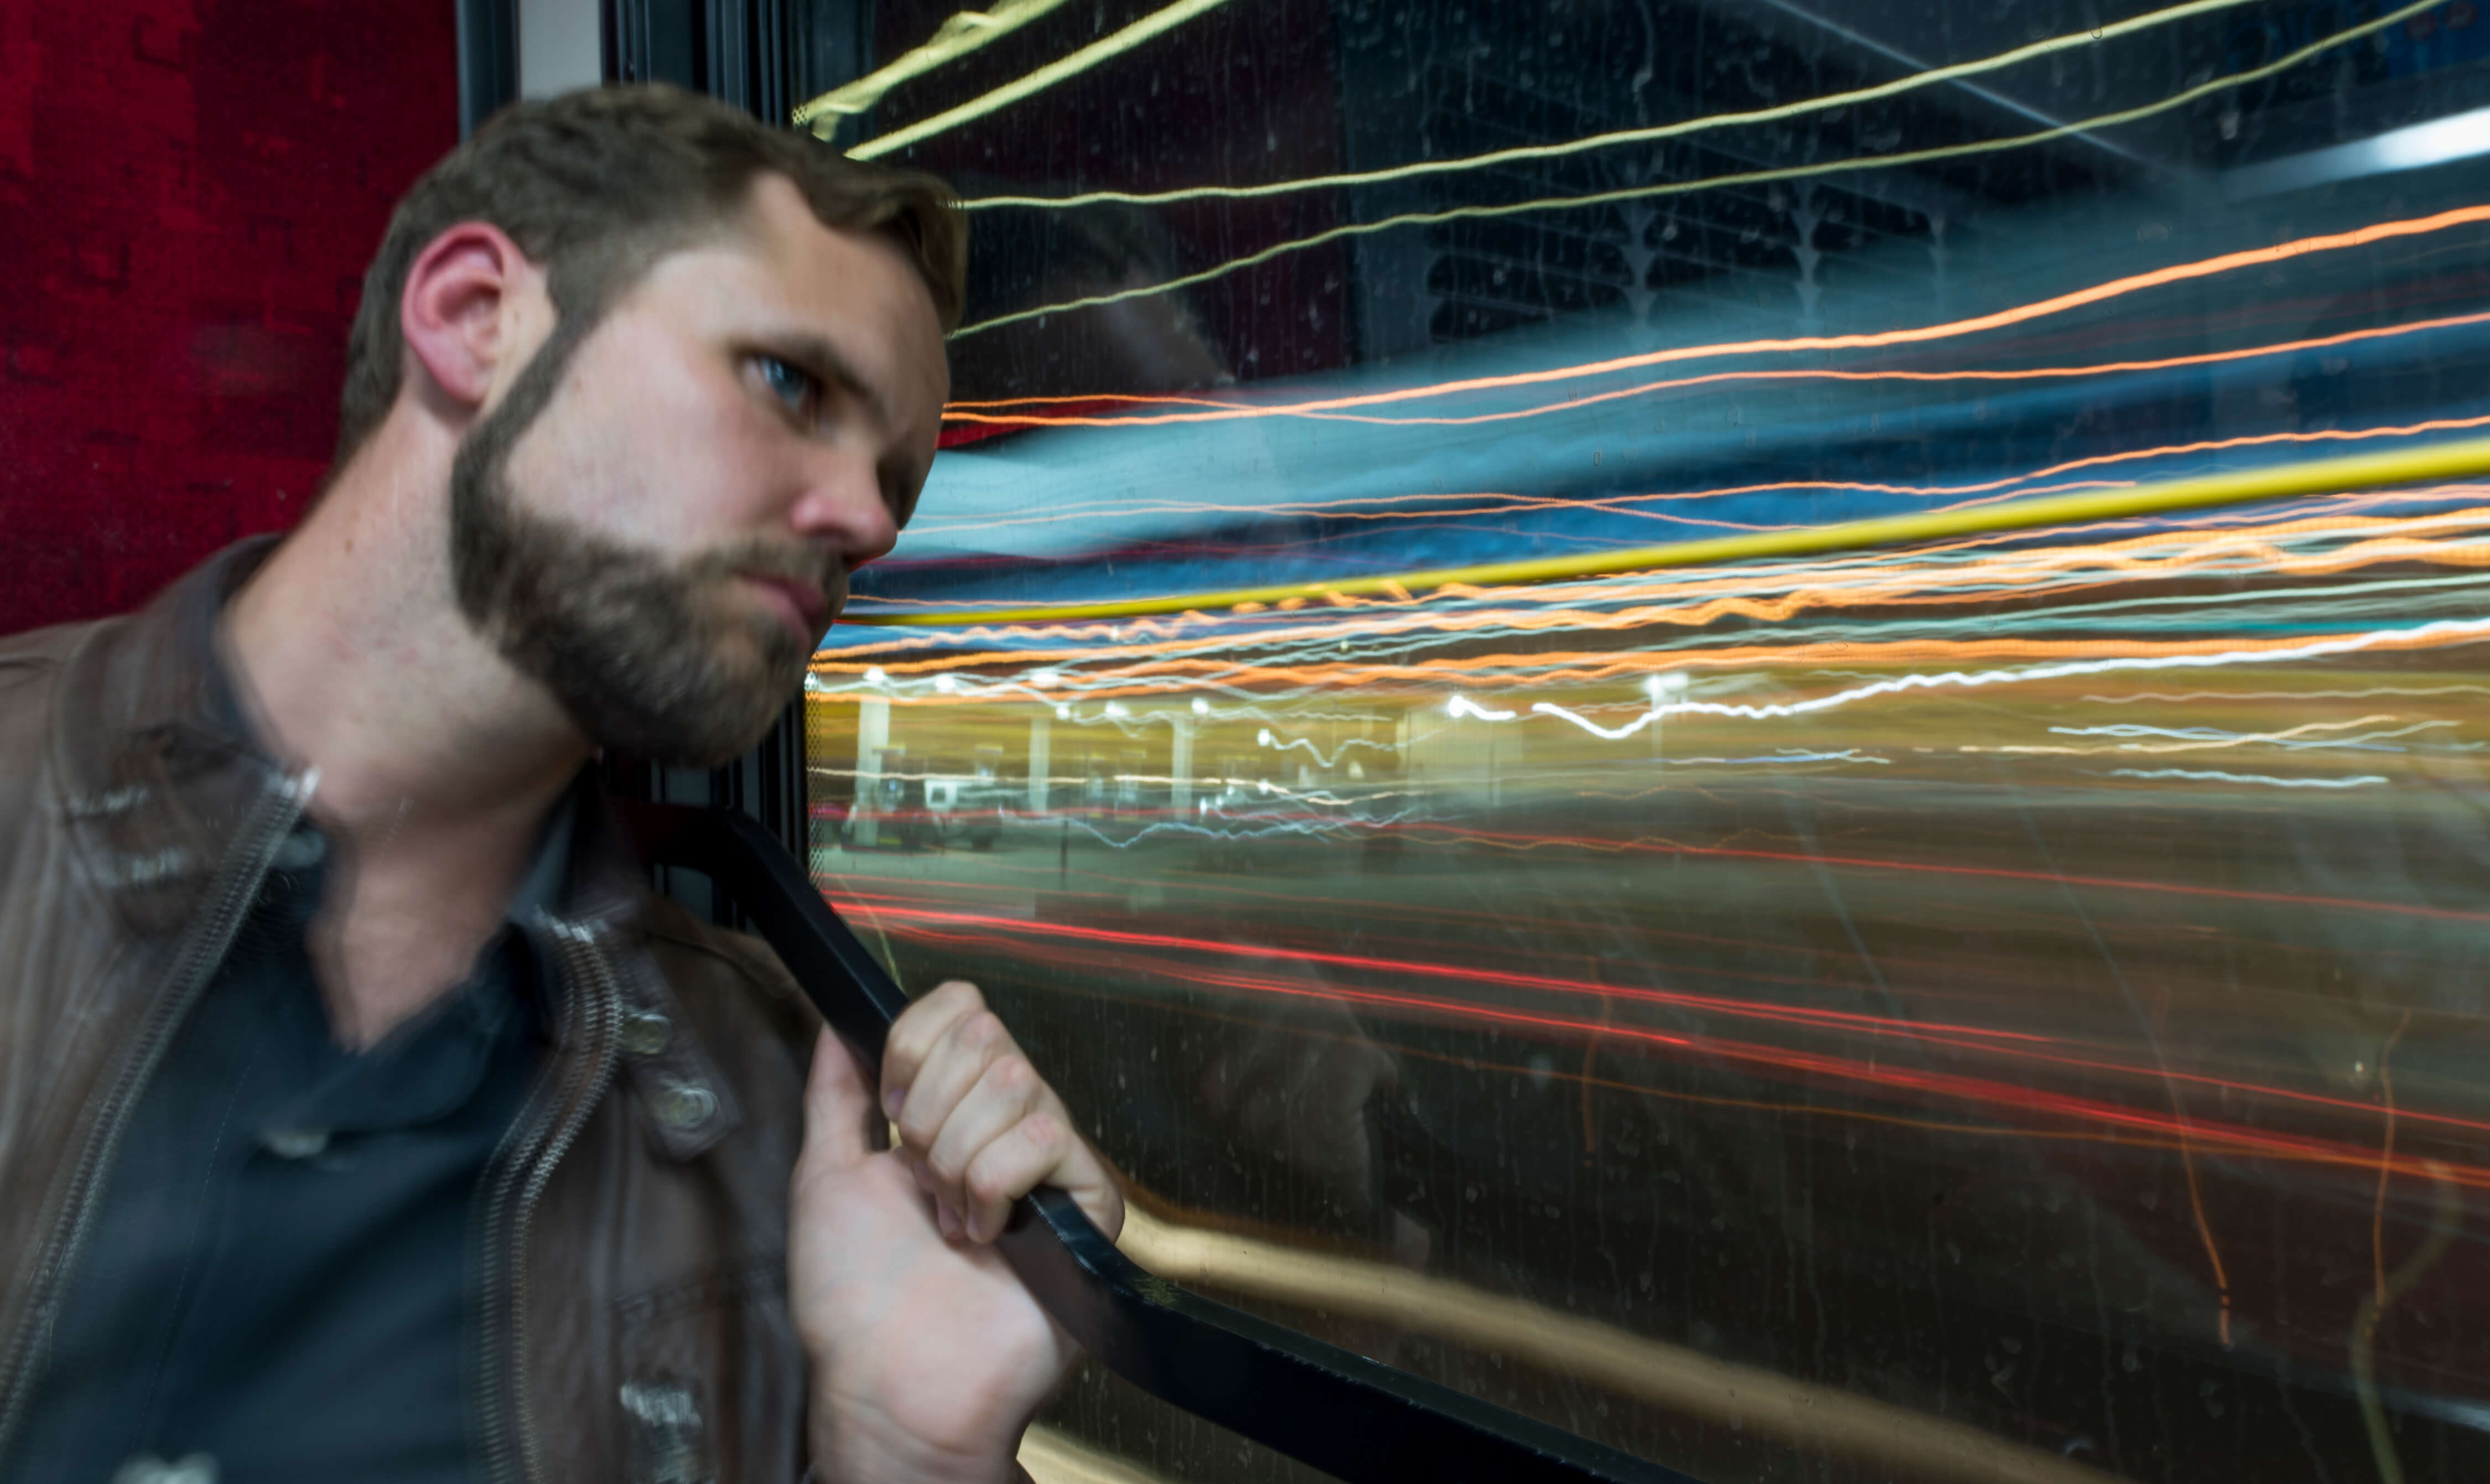
A few things can be learned from these two experiments.
Now then, you decide to eschew a human subject and just see what happens when you point the camera out the window. Same settings as before, about a 30 second exposure.
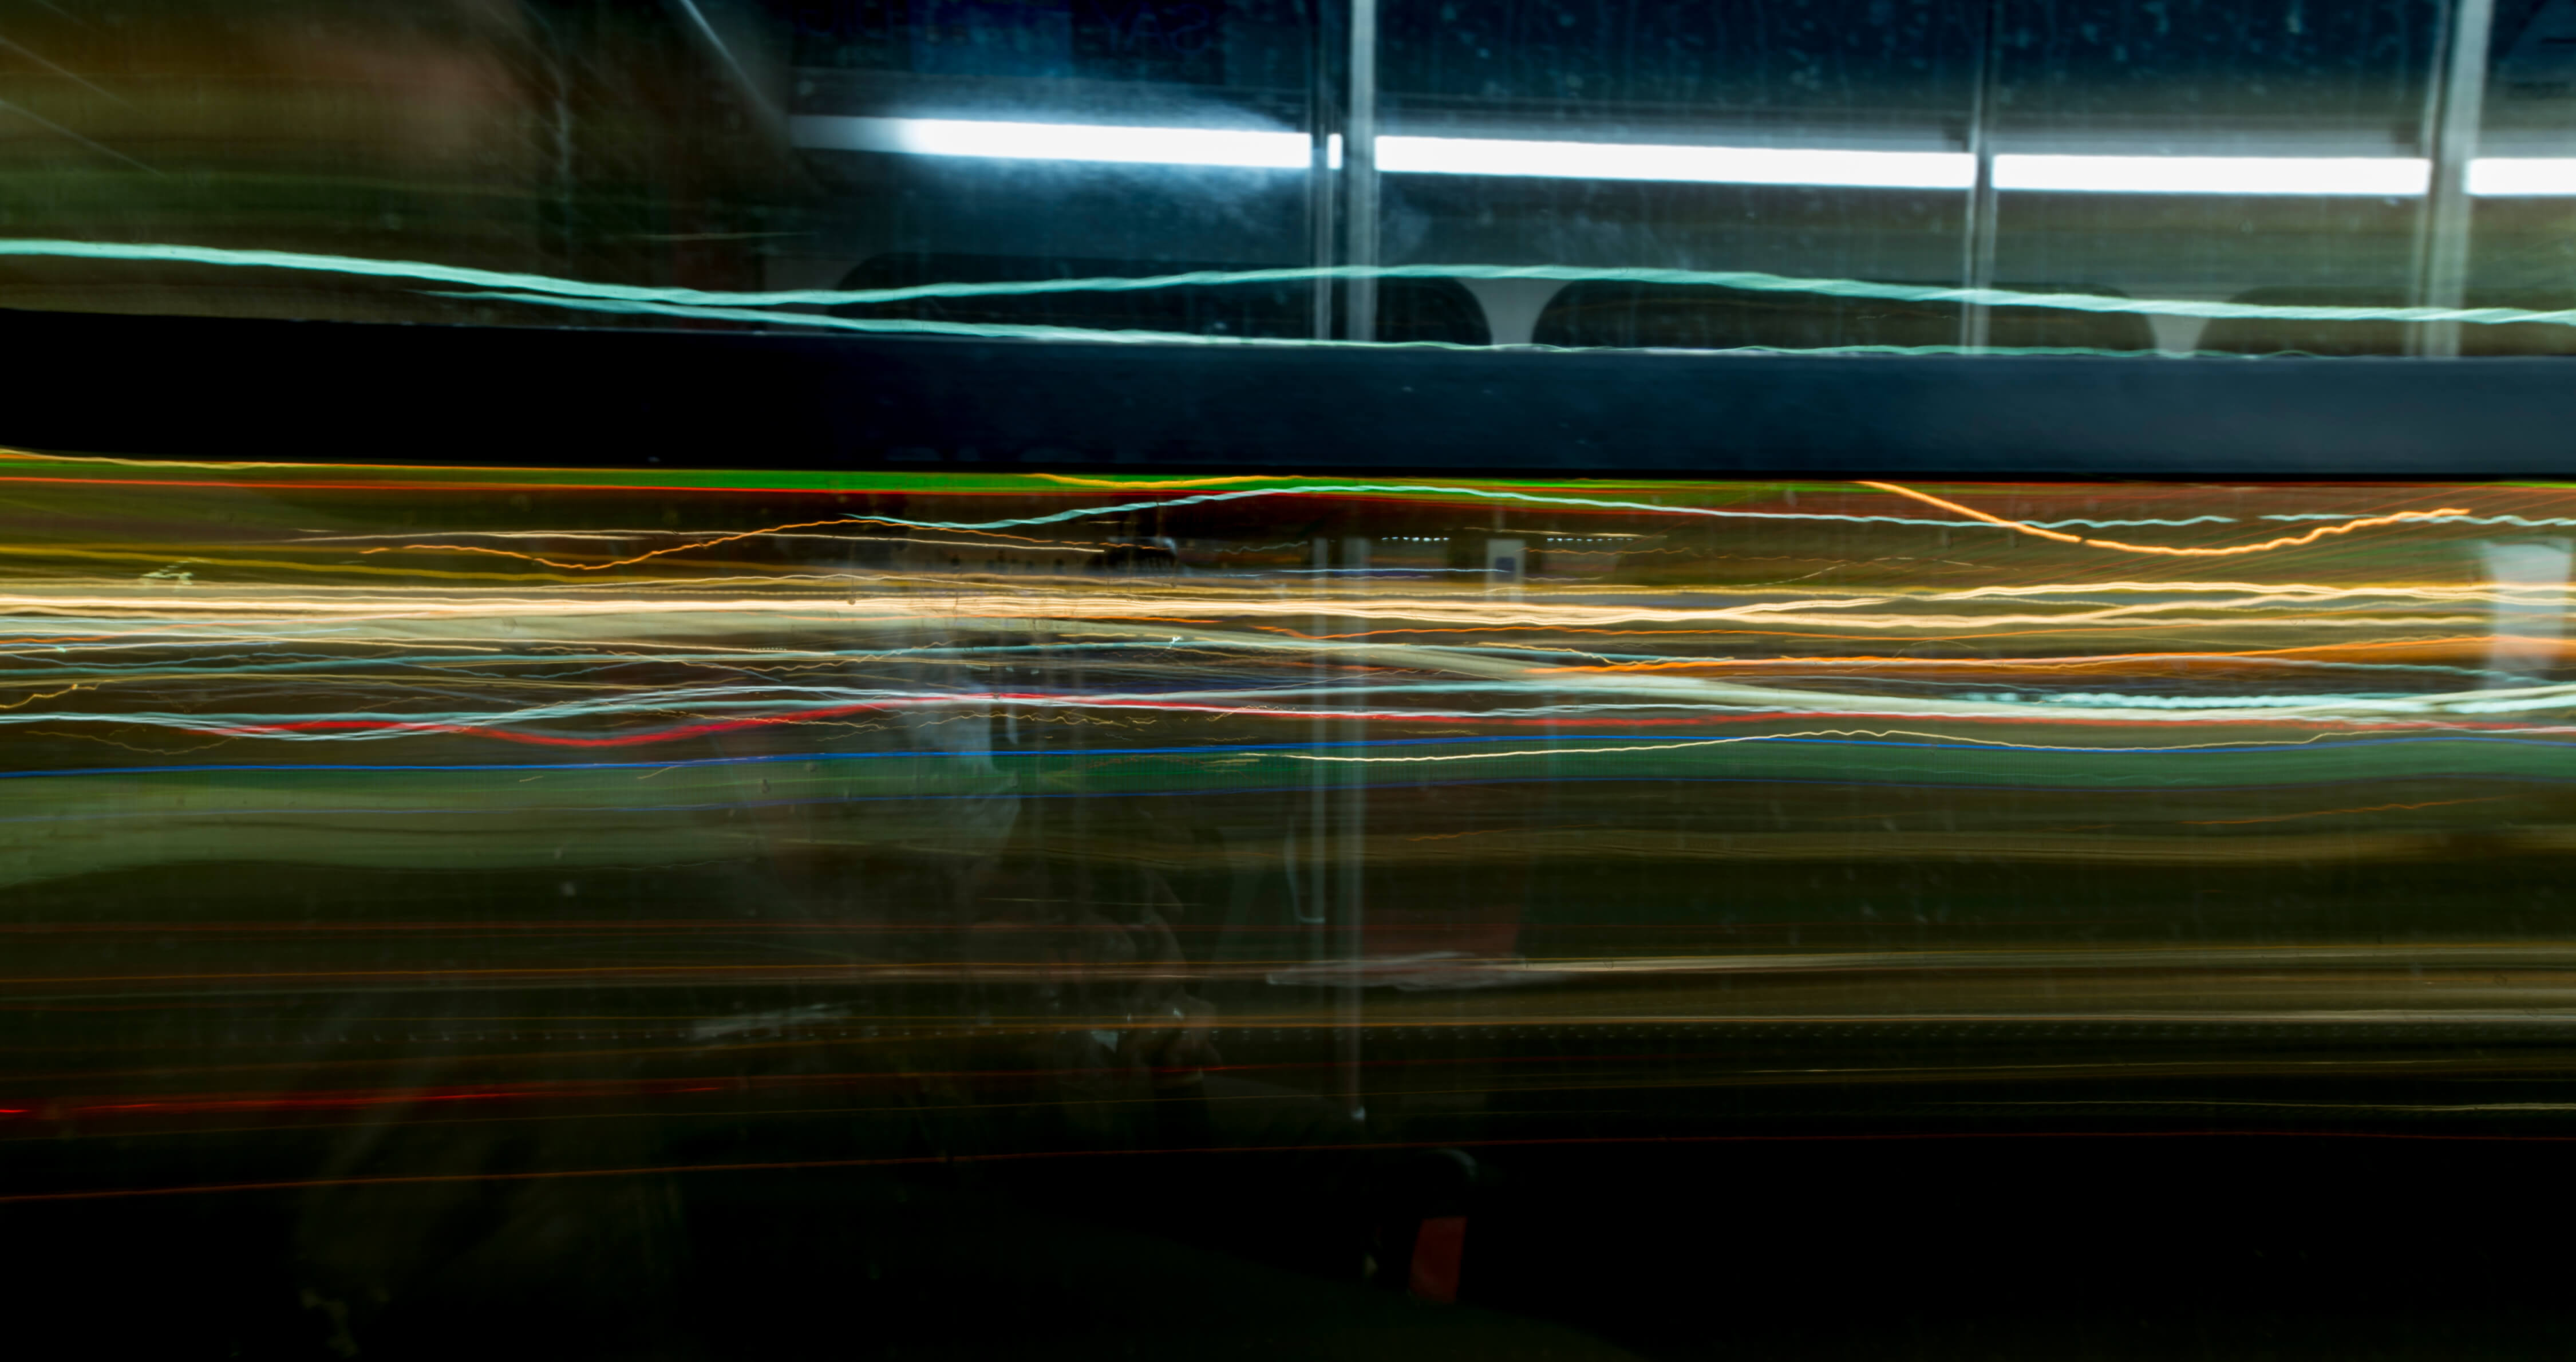
The bus’ up-and-down motions give these lights a little bit of a wave pattern. Interestingly, there are no LED lights visible in this photo. They’re most readily identified in long exposures by the fact that they look like dotted lines, instead of continuous ones.
Time to try something totally different. You’ve got your camera angled downward slightly and you release the pan-lock lever on your tripod. Now, if you leave the camera to its own devices, it will gradually list downward as gravity exerts its immutable forces on it. What happens when a considerably-shorter exposure is used and the camera just does its thing?
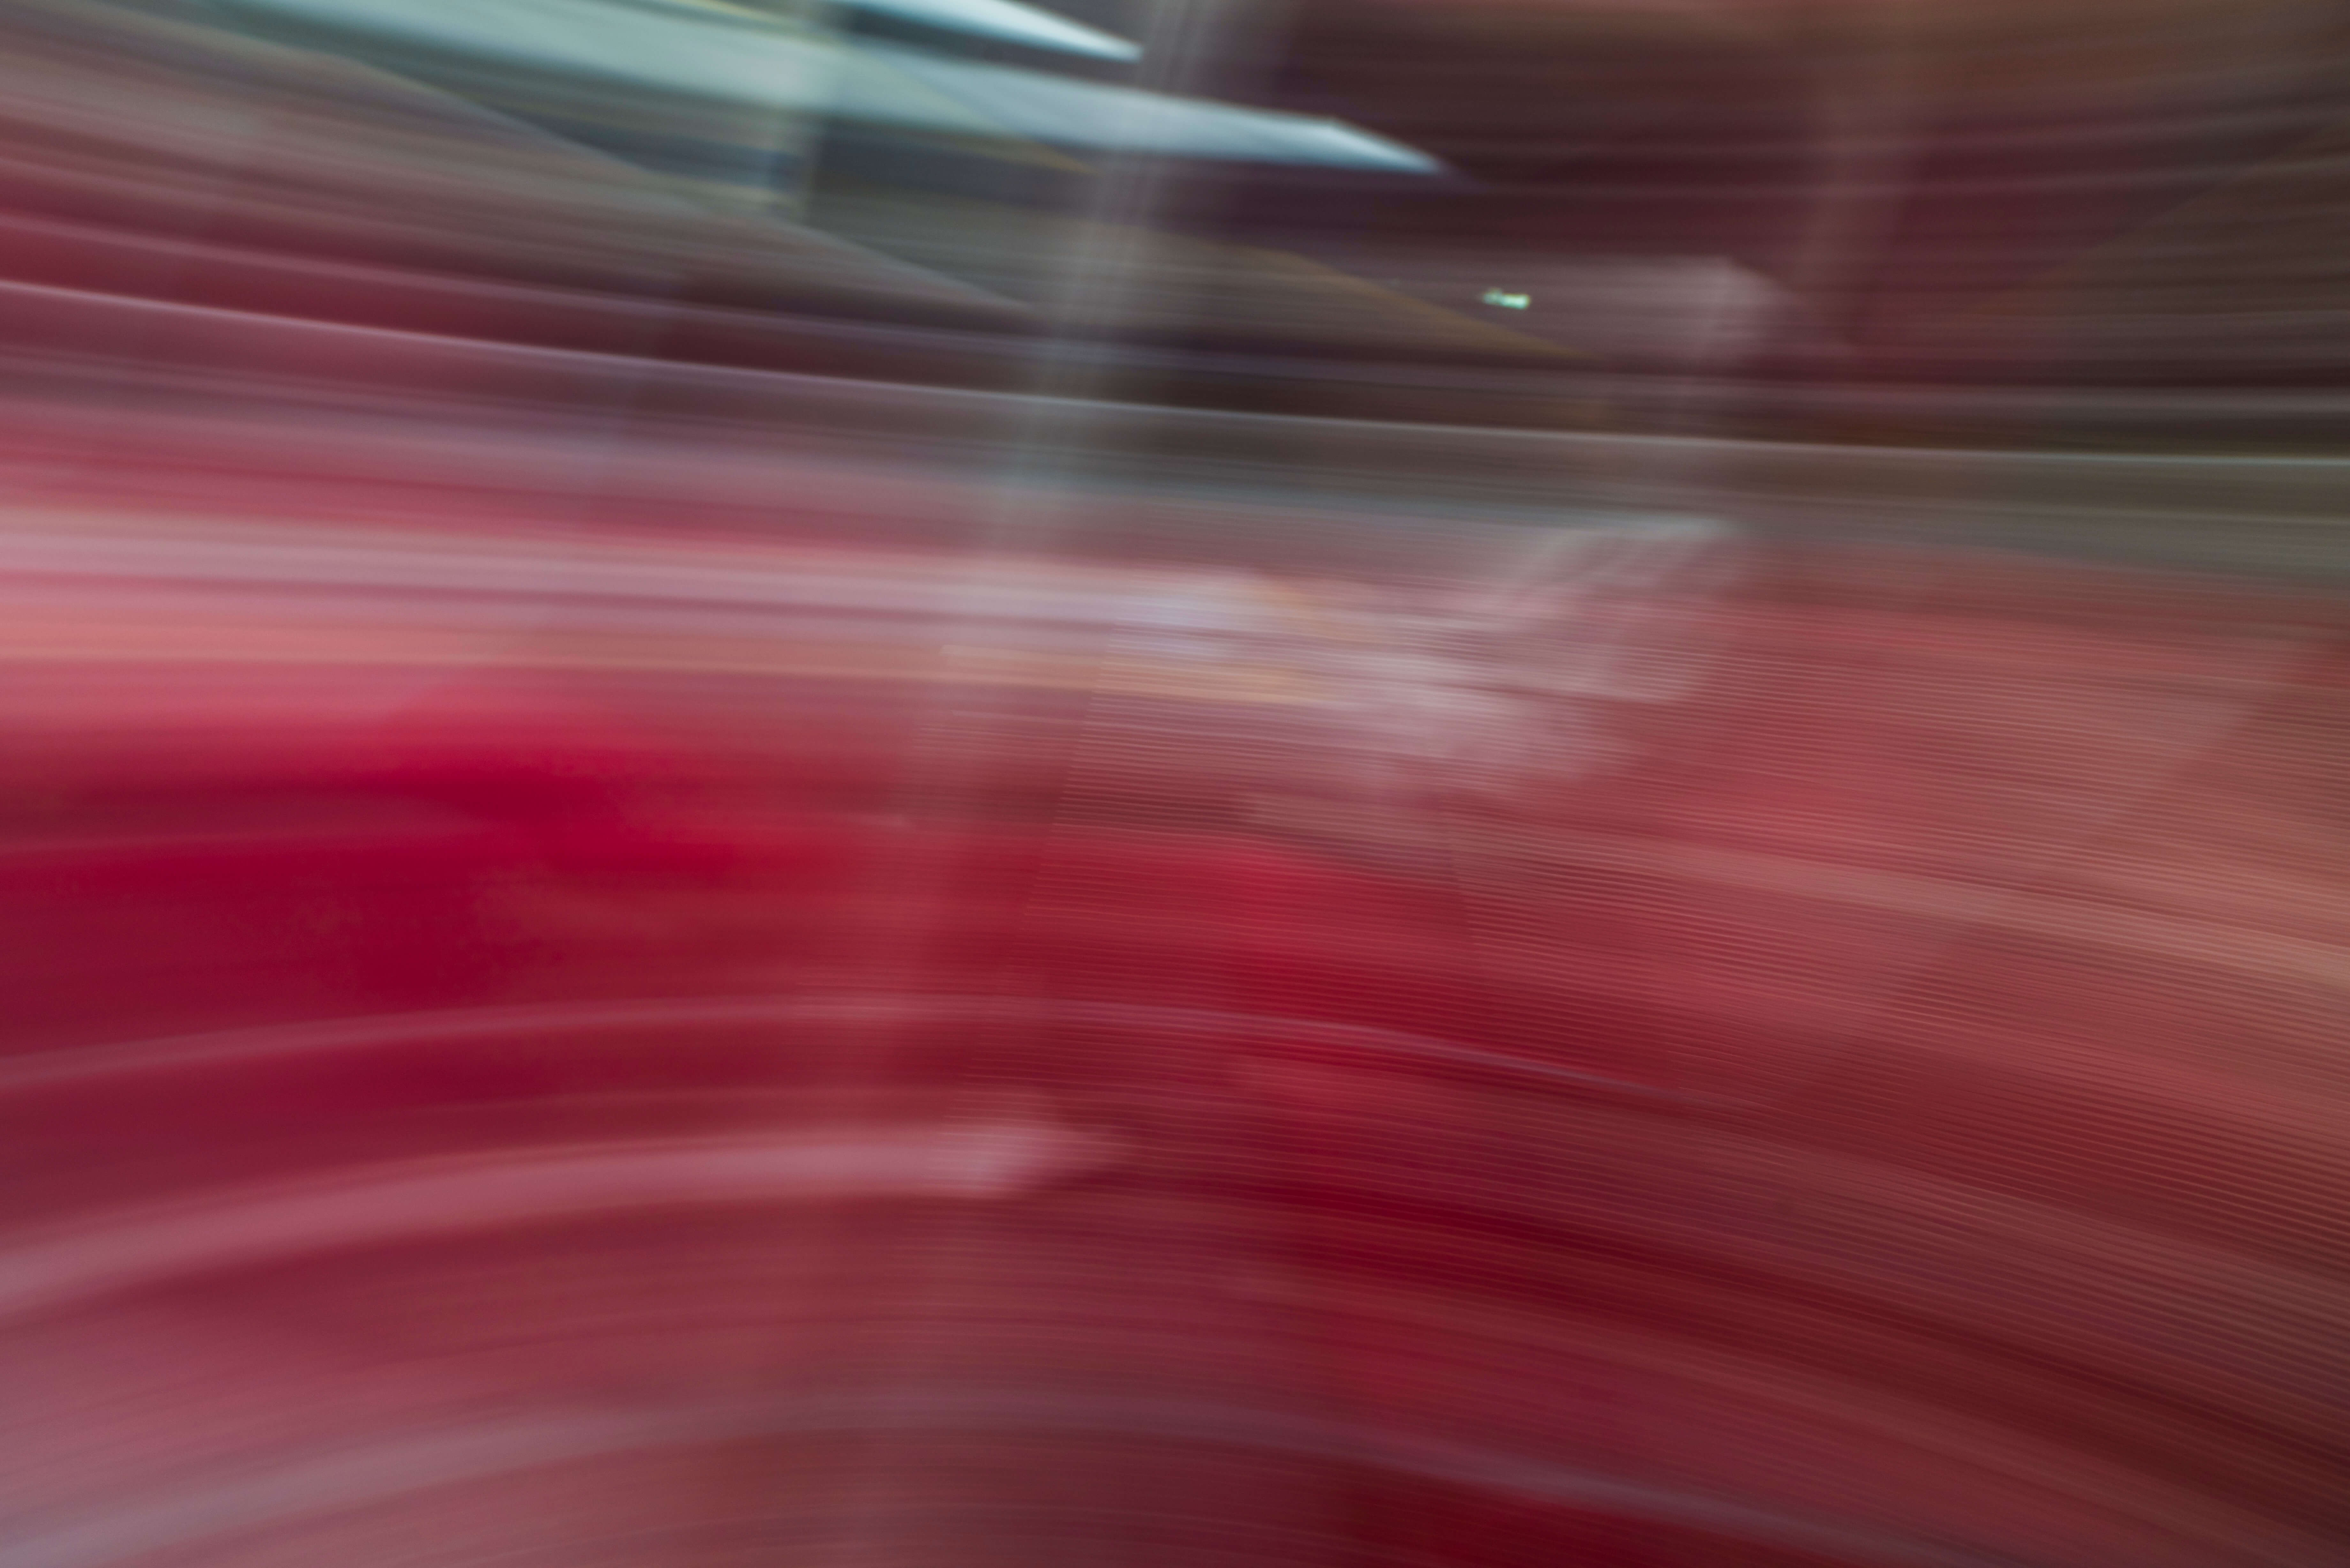
At first glance, not much to see here. But wait! There’s a person visible in this shot! In fact, they’re the demarcation point for the interesting non-red parts of the photo. Her shoes form a white streak that leads off to the left, as does the book sitting on her lap. This simultaneously a double exposure AND and long exposure!
Let’s close this experiment by taking one final shot. Still using your tripod, you point the camera straight down the aisle to the front window. Re-enable T-mode and set the focus to hyperfocal for maximum focus. CLICK!
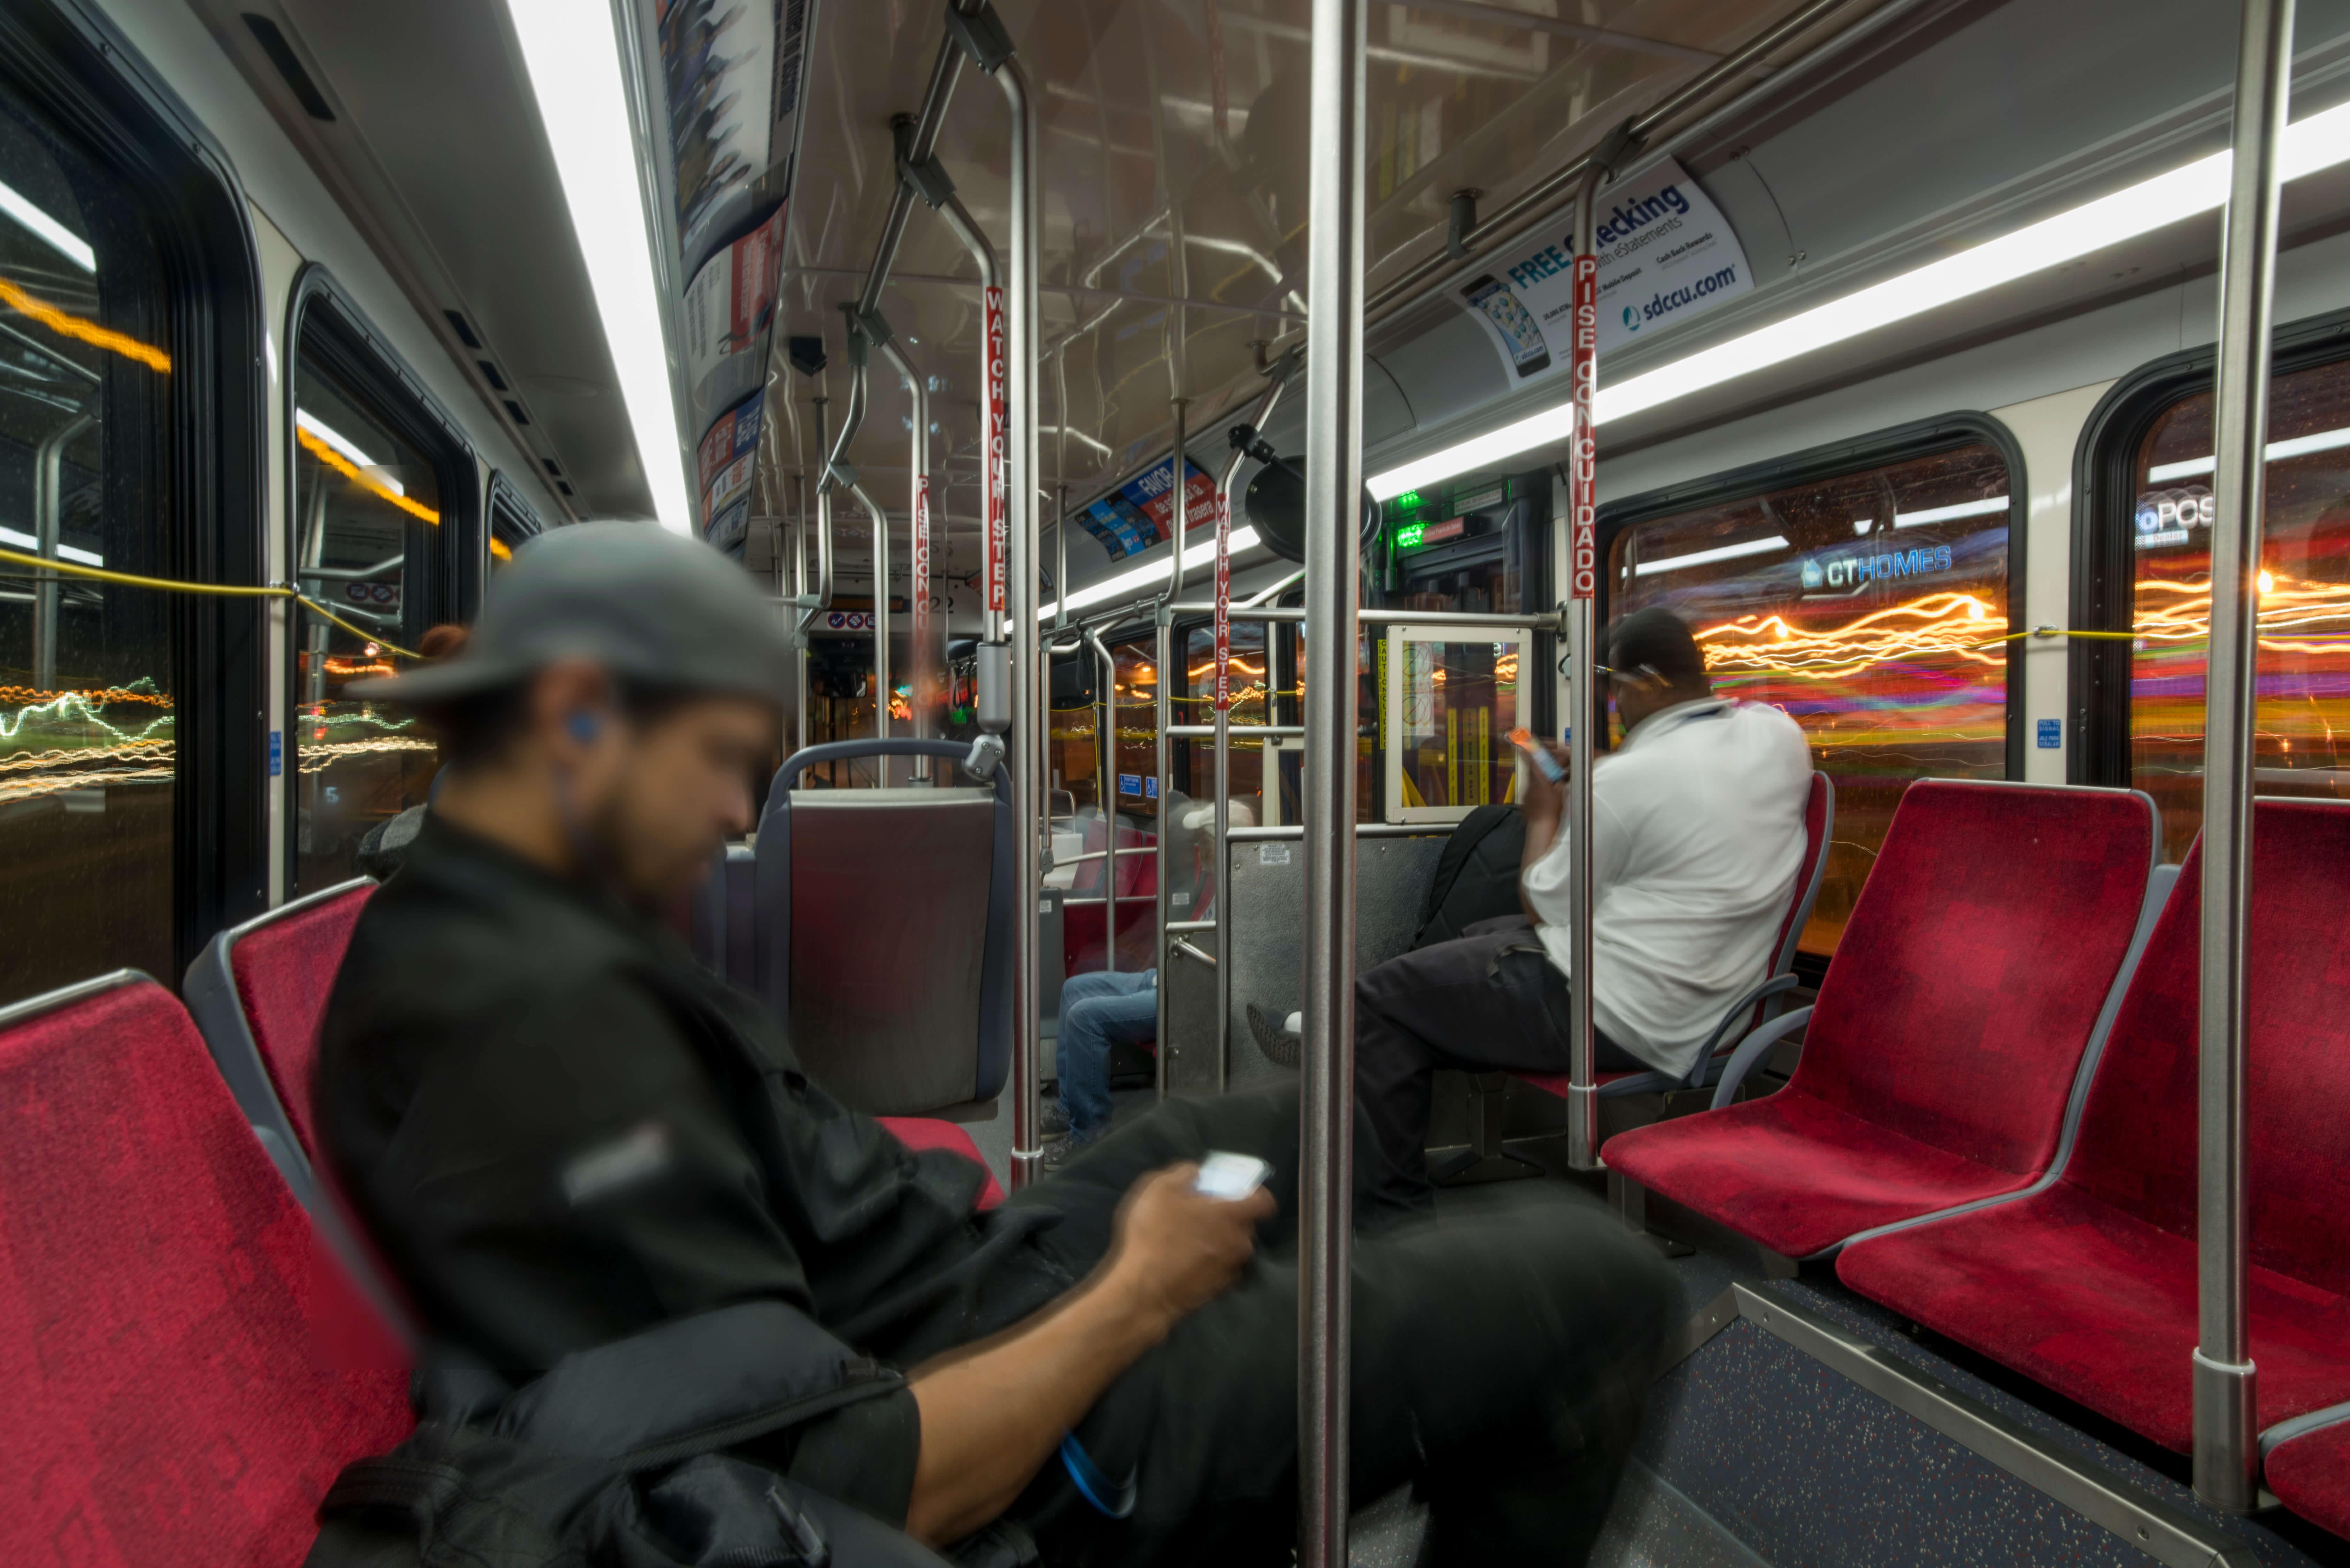
Take a look at those lights outside the window on the right. They’re doing that same wave-thing as the earlier shot. This is a visual record of the bus’ various rocking back and forth as it passed by the lights from store windows. Flashbacks to the Wonka boat-ride scene abound.
This is a 16-second exposure while the bus travels fairly-smooth streets, coming to a stop at a stop light for the last 5 seconds of the exposure. These factors, coupled with the fact that the tripod is essentially part of the bus, contribute to an overall sharpness in the bus’ interior. (Living) humans aren’t that great at remaining rigid for extended periods of time, so they’re a little fuzzy.
The light streaks outside the window are courtesy of the Pacific Beach business district. The bus’ pause at the stop light gave the buildings’ signs just long enough to register on the exposure too. CT Homes got some free promotion this evening.
Before you know it, you’re at your destination. It’s time to get off the bus and go make a blog post. 🙂
T mode stands for “Time Exposure” and it’s different from B mode, which stands for “Bulb Exposure”.
B means the shutter is open as long as your finger is holding the shutter button down.
T means the shutter opens when you first press the shutter and it stays open until you press the shutter once more.
T-mode is not commonly offered on most DSLRs, since it can be a huge drain on battery life to keep the shutter open for whole minutes at a time. Couple that with the fact that many digital cameras take a second, completely dark, equally-long exposure right after a T-mode shot (for noise reduction/ black magic purposes) and you can start to see why a digital camera manufacturer is likely to want to avoid making T-mode, lest their users think that they purchased a camera that can only shoot 5 exposures per battery.
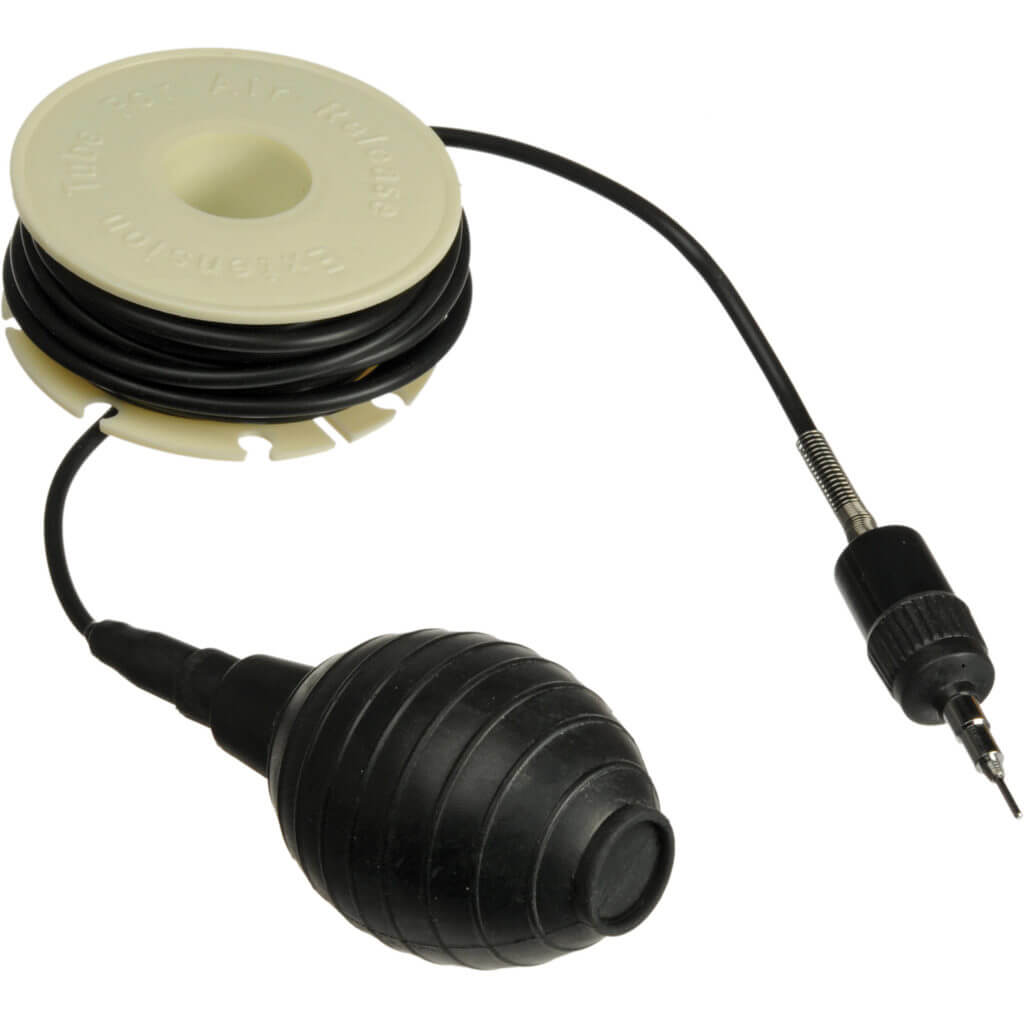
Fun fact: Bulb exposure is so named because early photographers used a pneumatic shutter release cable that was triggered using a big, rubber ball that fit in the palm of your hand. It looked a bit like a flower bulb/ light bulb. Hence: Bulb exposure.