How To Fit A GIANT Pizza Box Into A Small Refrigerator
There are more than 20 pizza “giant pizza” restaurants in San Diego.
“Giant” pizzas are typically 28″ in diameter.
“Giant” pizza boxes are usually 30″ squares, which just barely fit through a standard-size 32″ door frame.
Unless you have a “giant” refrigerator, you may be unable to fit a “giant” pizza box into your fridge.
Solution? Scissors!
How To Fit A Large Pizza Box Into A Small Refrigerator
Sometimes I bring home pizza, only to discover that the pizza box is too large to fit in my refrigerator.
One solution is to cut the large pizza box so that it becomes two small pizza boxes.
This technique is suitable for fitting 28” pizza boxes into a standard-size refrigerator.
This technique works for fitting pizza boxes into hotel mini-fridge units.
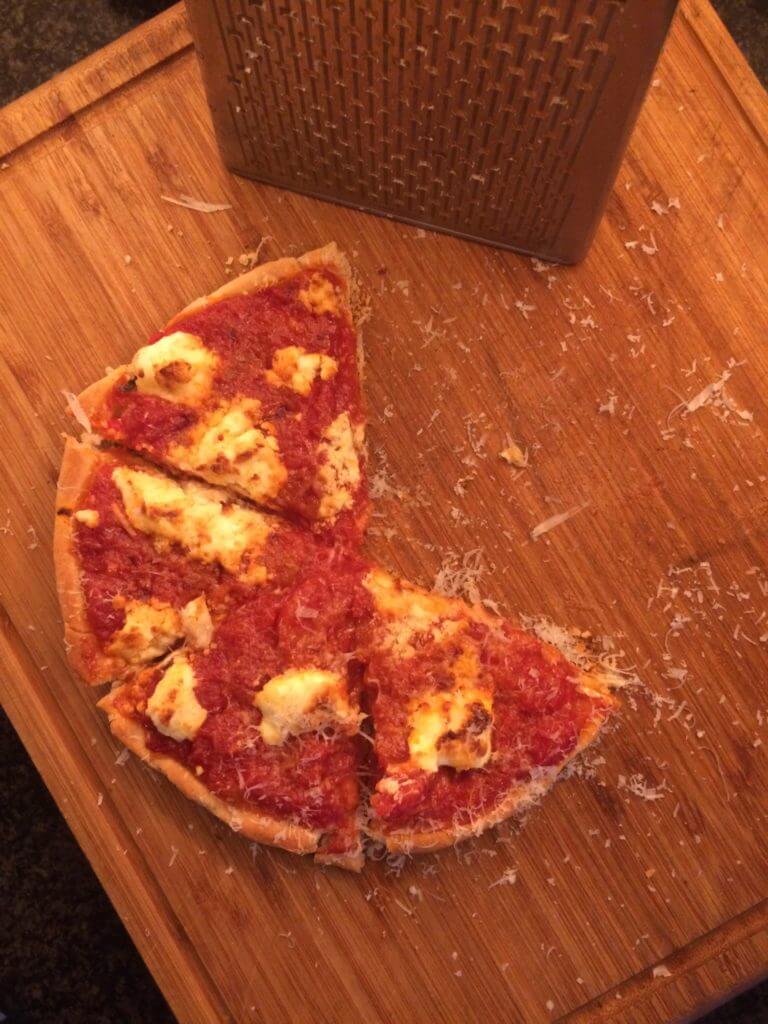
Skillet Pizza Recipe
This is a recipe that I know by heart.
Makes 1 large skillet pizza, or two medium ones, depending on skillet depth.
Liberally oil a 10” cast iron skillet and set aside. (Or two 6” skillets)
- 250 grams flour
- 2 tsp sugar
- 1 tsp salt
- 1 Tbsp yeast
- 1/4 cup olive oil
- 1/4 cup water (110 degrees)
- Optional** 3 Tbsp ground flax
Make the yeast mixture: Combine 1 Tbsp yeast, 1 tsp sugar, and 1/4 cup water (110 degrees f)
Let yeast mixture rise for 15 minutes.
Make the flour mixture: combine 250 grams of flour, 1 tsp sugar, 1 tsp salt, and optional 3 Tbsp ground flax
Make a well in the center of the flour mixture, and pour the olive oil and yeast mixture into the well.
Mix until the dough is sticky, then firmly press dough ball into pre-oiled skillet(s)
Cover dough in skillet, and let rise for 1-2 hours.
Heat oven to 425 degrees f.
Place skillet on bottom of oven and bake for 5 – 7 minutes.
Remove pizza from oven
Add sauce, cheese, and any desired toppings
Return pizza to oven for 12-18 minutes, depending on amount of toppings.
Remove pizza(s) from oven and let them rest, in the skillet, for 10 minutes.
Remove pizza by the slice, or whole.
Enjoy. 🙂
(For extra crispy crunch, safely hold the skillet under the oven’s broiler element for 15-20 seconds. )
Use A Pinhole To Get Macro Smartphone Photos
By placing a .35mm pinhole in front of the smartphone lens, everything in front of the camera becomes equally focused.
Macro photos can be taken by bringing objects very close to the lens/ pinhole combo.
Any kind of homemade pinhole will yield results, with improved sharpness coming from from laser-drilled / acid-etched pinholes.
Example image follows:
Make a Smartphone Pinhole With a Peanut Butter Cup
Fact 1: Certain candies come wrapped in foil and this foil frequently has several small holes in it.
Fact 2: If a small hole is placed over a smartphone camera lens, the camera gains the apparent ability of being able to focus equally on all subjects in front of the lens.
Now that we know those two facts, let’s use a peanut butter cup wrapper to give our smartphone better close-focus abilities!
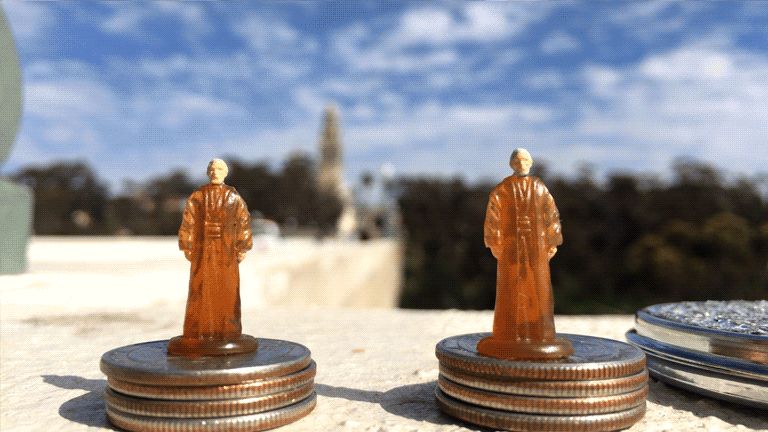
I’ve set up a few small dinosaur friends on a table. Every dinosaur is a different distance away from the lens, so the camera (operator) will have to choose which dinosaur will be in focus.
Here’s what it looks like when we focus on the green dinosaur, which is about 8 inches from the lens:

If the camera (operator) focuses the lens further into the background, then the blue dinosaur will come into focus, but this means that the green dinosaur will not be sharply focused.
Here’s what it looks like when we focus on the blue dinosaur, which is about 24 inches from the lens:
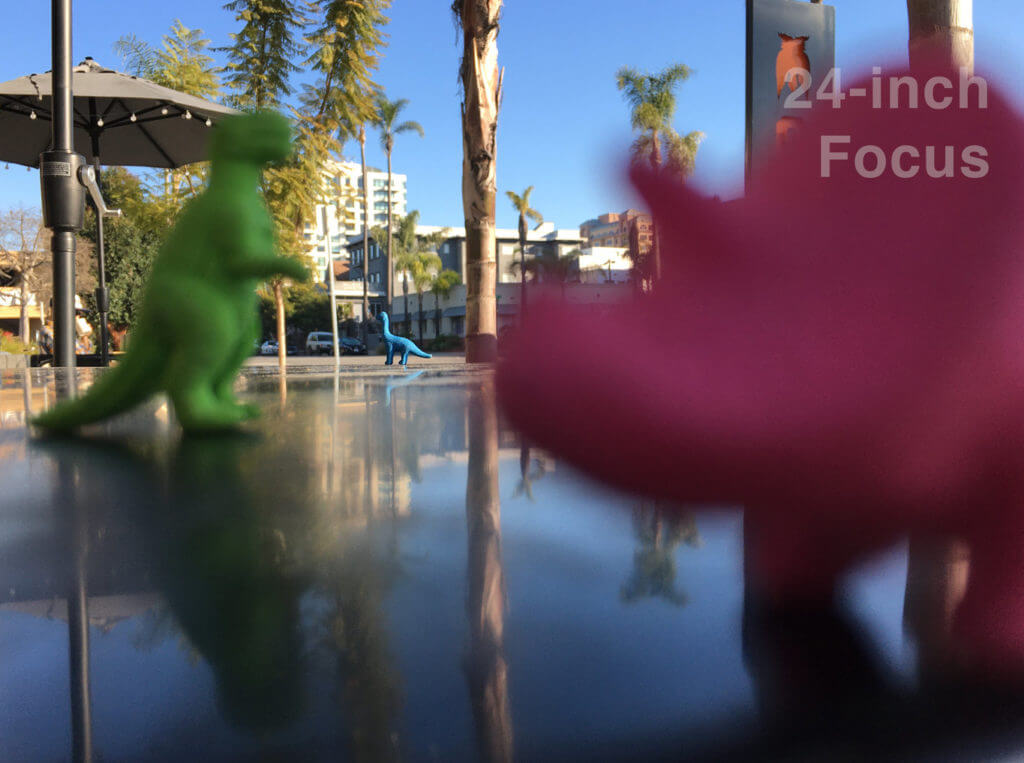
It is not possible for the smartphone lens to focus equally on the green dinosaur and the blue dinosaur.
How can all the dinosaurs come into focus?
We’ll need to use a peanut butter cup!
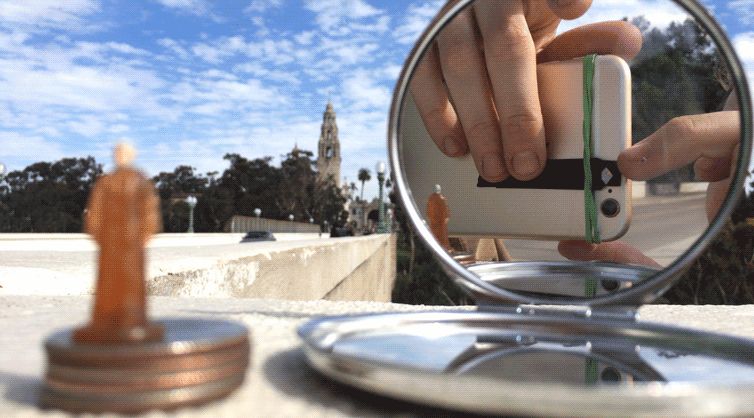
First, unwrap the peanut butter cup from its foil and look for tiny holes in the foil.
Center the candy-wrapper pinhole over the smartphone lens and bring it close enough to the lens so that an image appears on the smartphone screen.
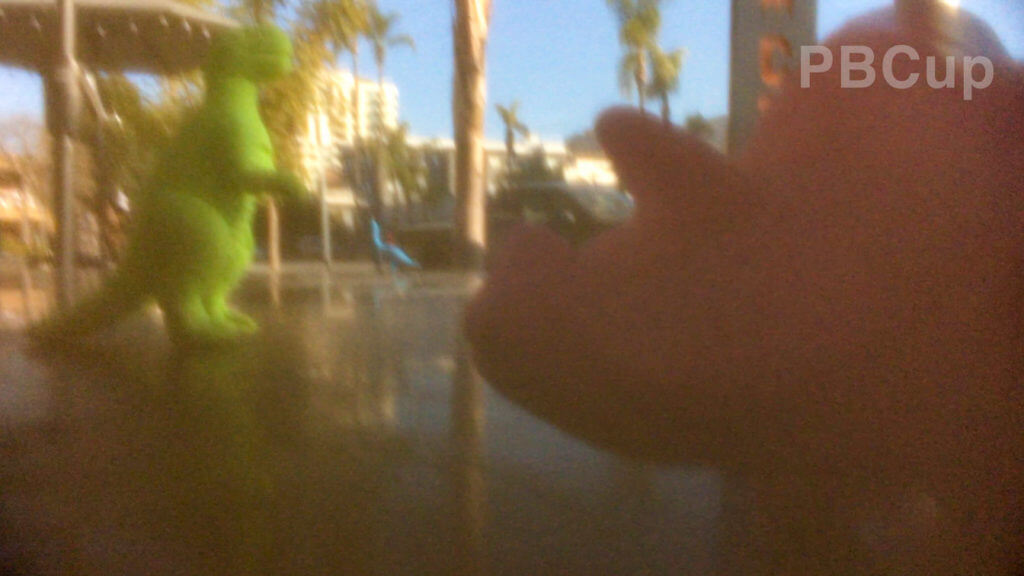
All three dinosaurs are now all the same level of focus, but that focus is not particularly sharp.
In pinhole-photography terms, all three dinosaurs are now “equally unsharp”.
By pressing the pinhole right up over the smartphone lens, we’re creating a smaller opening for the light to enter the lens, also called an “aperture” or “f-stop”.
The small aperture means that more of the image appears to be “in focus”, relative to using a larger aperture on the same lens.
Khan Academy has a video that explains why a smaller camera aperture results in more apparent focus. https://www.khanacademy.org/partner-content/pixar/virtual-cameras/virtual-cameras-1/v/optics1-final
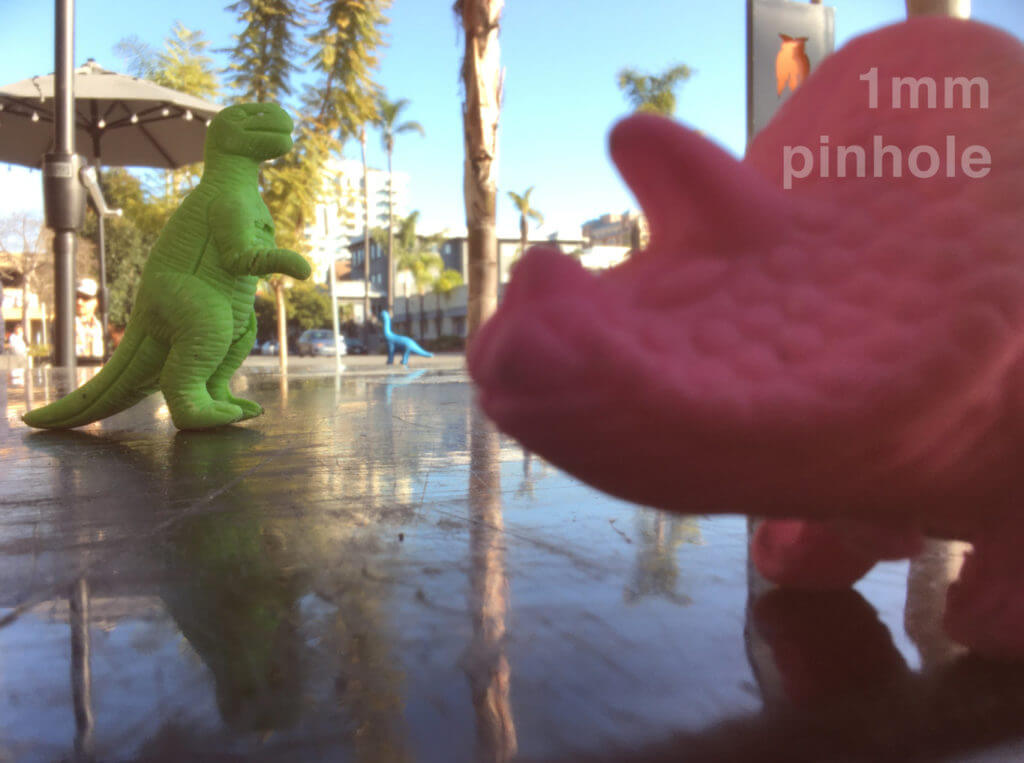
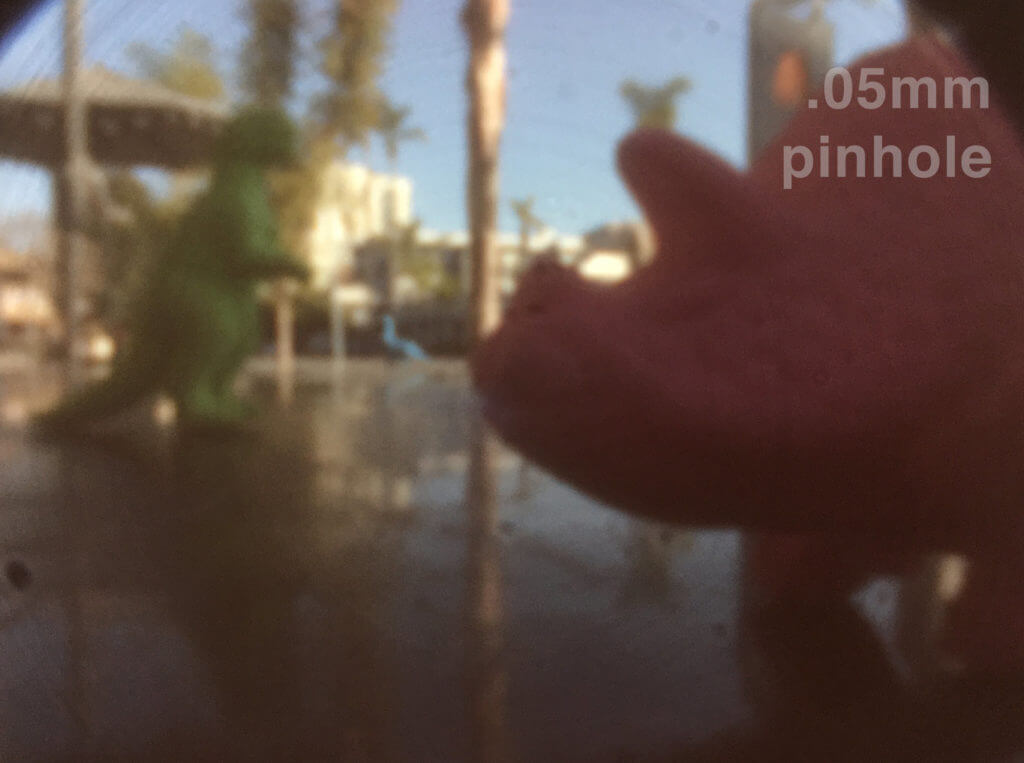
There is an ideal pinhole size for any given smartphone camera and it’s a good idea to try out several pinhole sizes to see which results in the sharpest (unsharpest?) image.
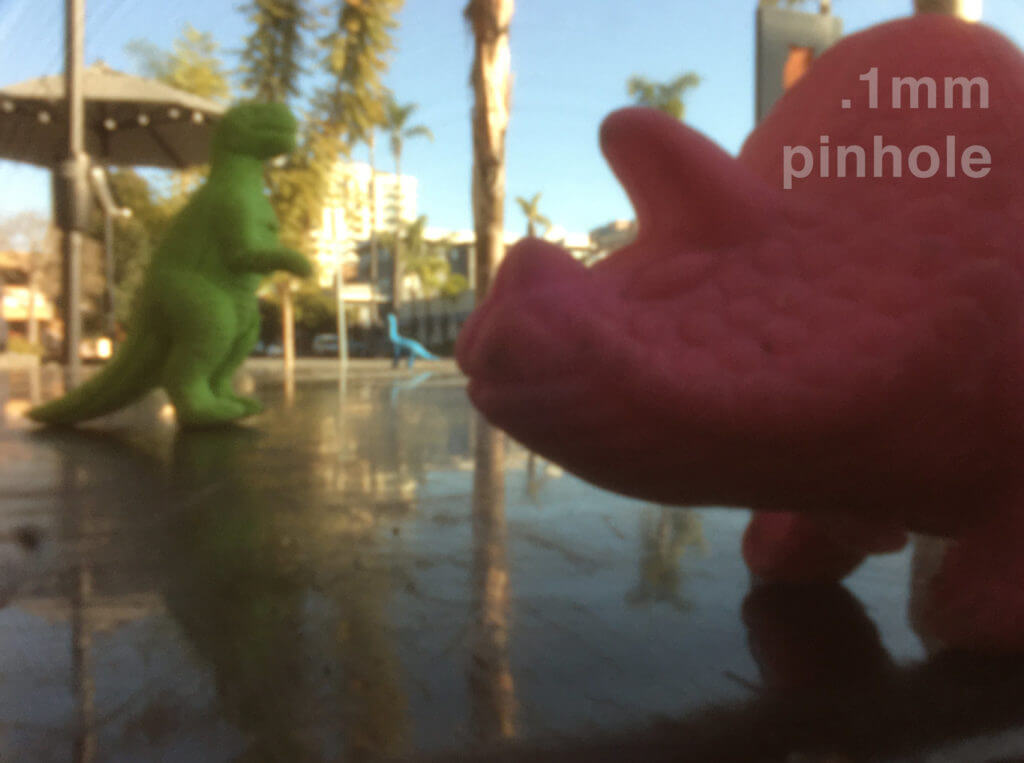
Below are the results of various other pinhole sizes: 1mm, .35mm, .25mm, .1mm, and .05mm


Unedited footage of all the pinholes, plus some bonus candy-wrapper pinholes: https://youtu.be/UFMNVIJ1bsk
Put A Pinhole On Your Smartphone Camera To Get Macro Closeups
Most smartphone cameras have a limited ability to focus on objects very close to their lens.
Place a piece of foil with a pinhole over your smartphone camera lens and it will be able to resolve images very close to the lens.
For more information on how this is working, try an online search for “pinhole photography”.
Regarding questions you may have:
-Any kind of needle will work, just be sure to twist it slowly as you press it into the foil.
-Any kind of foil will work, including candy bar wrappers (and mini peanut butter cup foils).
-Any kind of smartphone will work, with some smartphones showing more corner-darkening than others (this is called “vignetting”).
Some fun things to photograph:
– Your eyeball – Postage stamps – Sand – Pizza – Denim – Your mouth – Magazine Ads – Wood – Ants – Flowers – Fingers – Pizza – Snails – Water drops – Your nostril – Coins
If there is sufficient interest, I’ll provide a follow-up video with more specifics and examples.
Have fun with your new lens on life! 😀